Getting Started
Quick Check
PowerFeather comes pre-loaded with a program that blinks the green user LED. Use this to quickly check
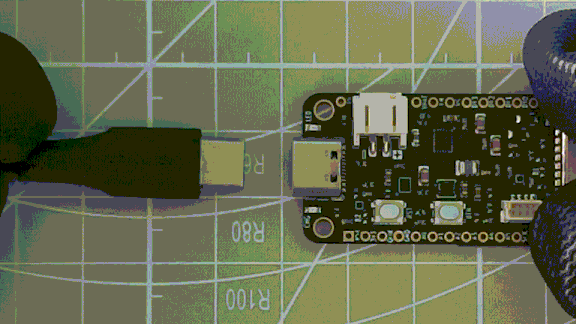
if your board is OK. Simply connect your PowerFeather to a host computer using the USB-C connector:
The red CHG LED should flash momentarily, after which the green user LED blinks continuously.
Run Example
The demo application showcases how to get basic information from the supply and battery. To build and flash the demo, ESP-IDF or Arduino with the PowerFeather SDK must be installed on your system. If you have not done this yet, please go through PowerFeather SDK Setup first.
Arduino
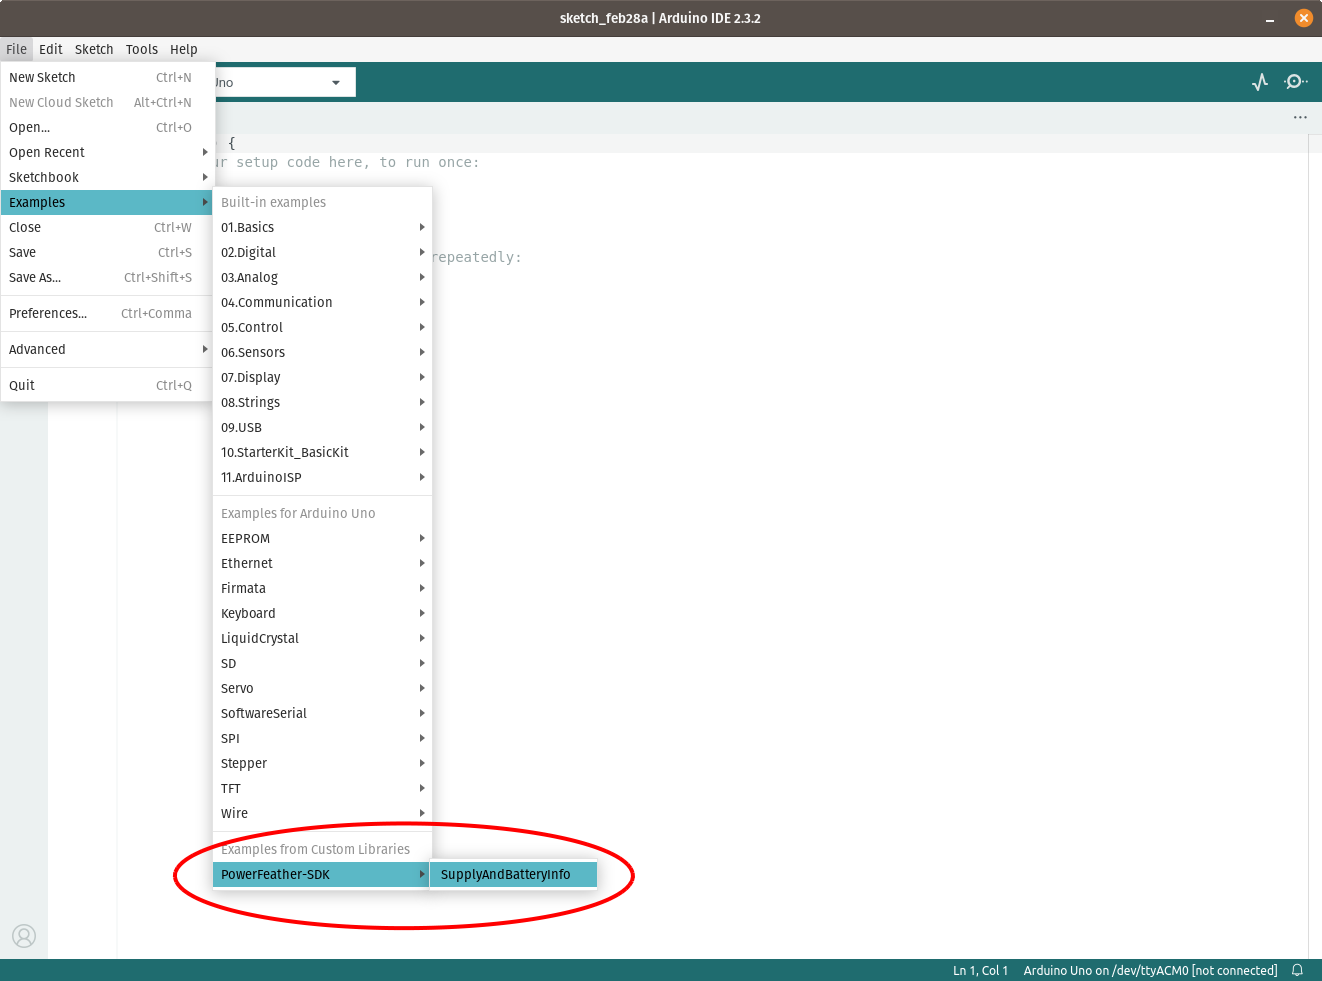
On a host computer, open the Arduino IDE. Then open the example PowerFeather-SDK > SupplyAndBatteryInfo.
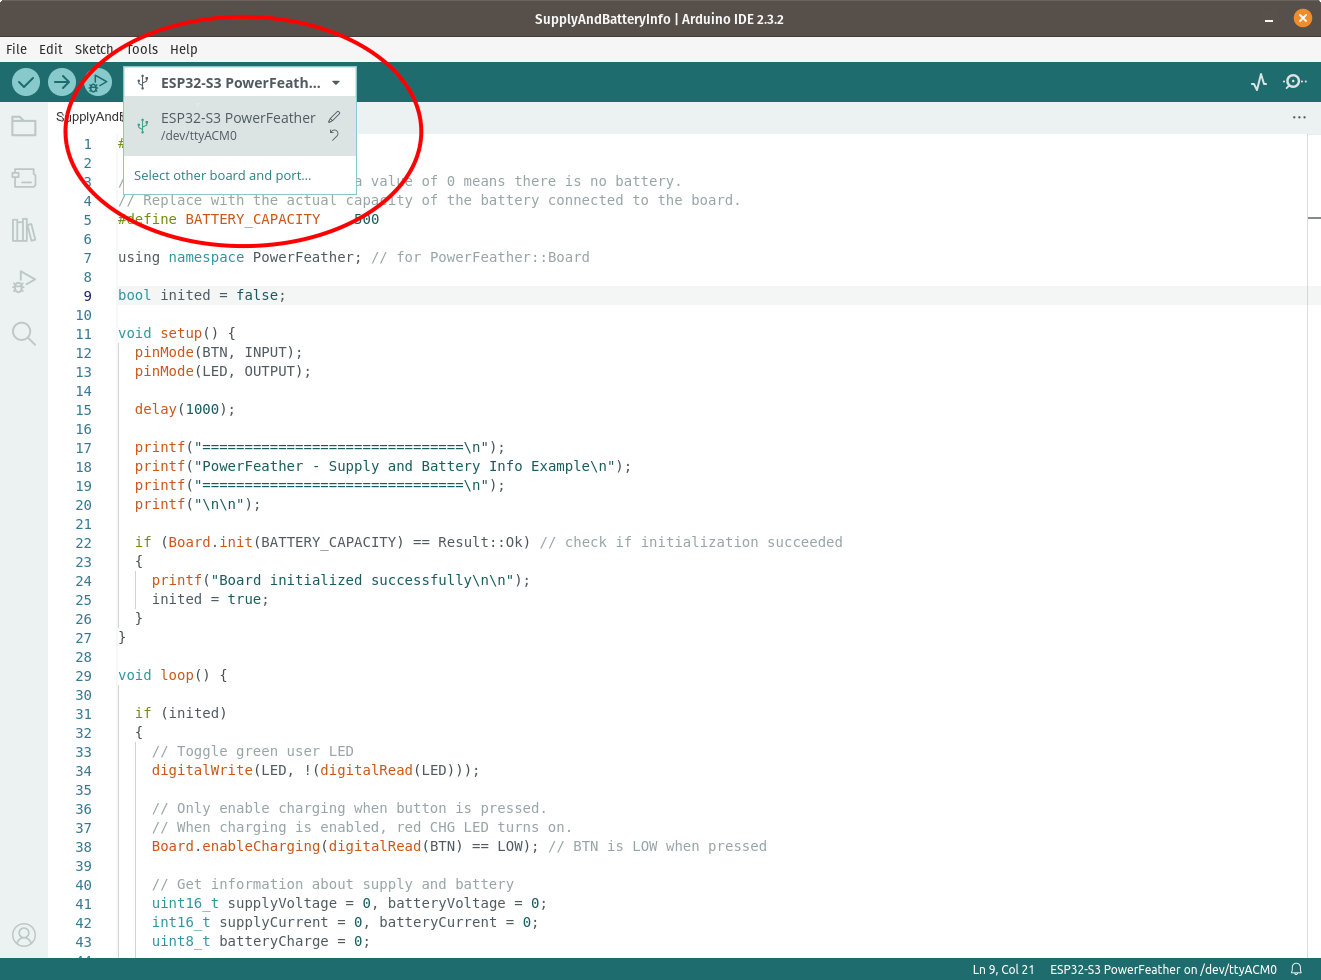
Connect the battery first if you have one, before connecting PowerFeather to the host computer. Once it is connected open the board selector drop-down, click Select other board and port and choose ESP32-S3 PowerFeather.
Set Tools > Board Revision to match your hardware revision:
- ESP32-S3 PowerFeather for V1 boards
- ESP32-S3 PowerFeather V2 for V2 boards
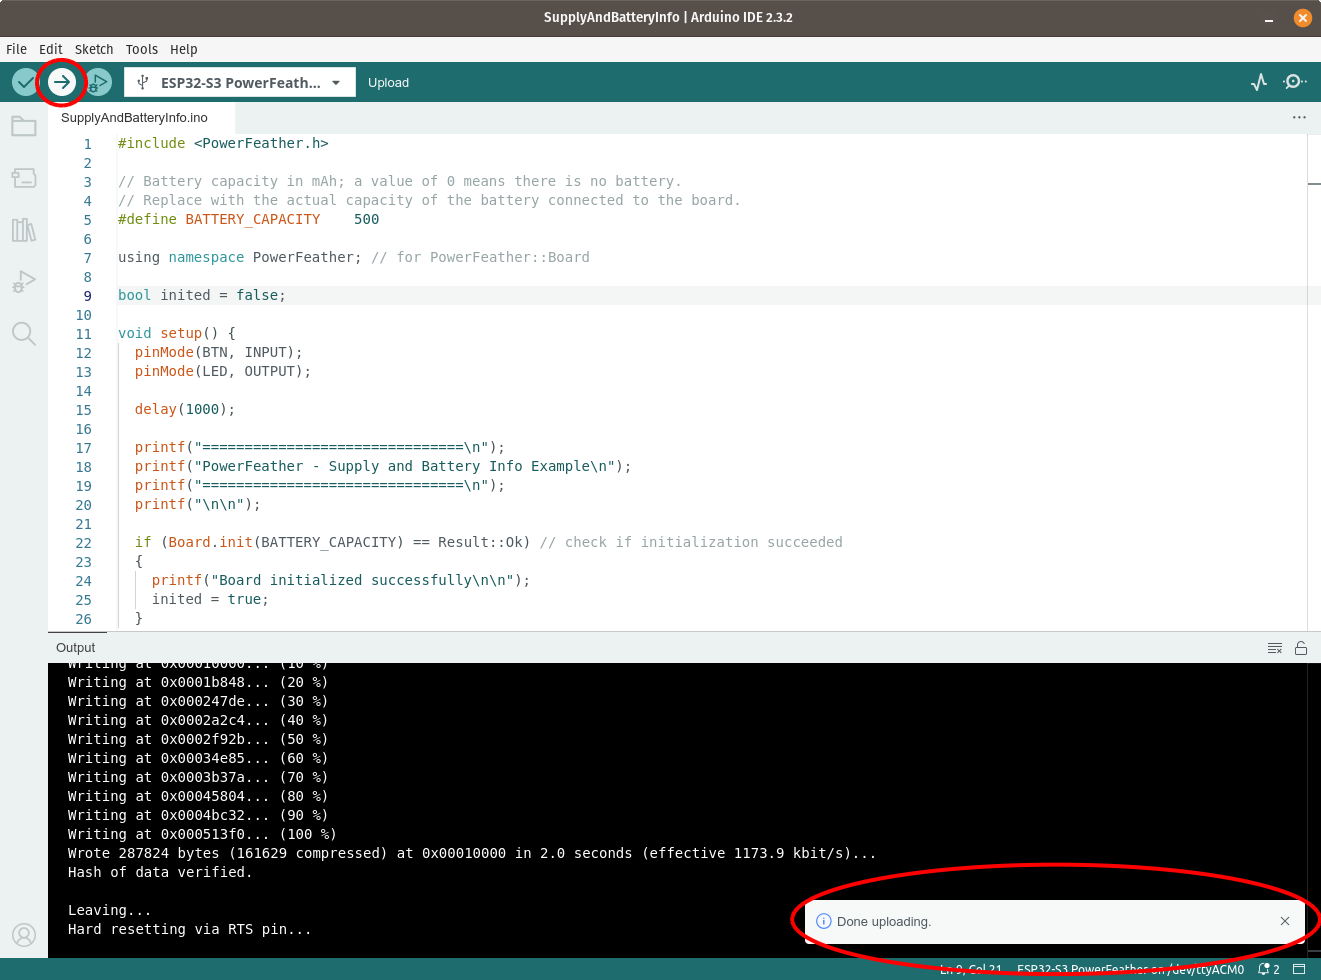
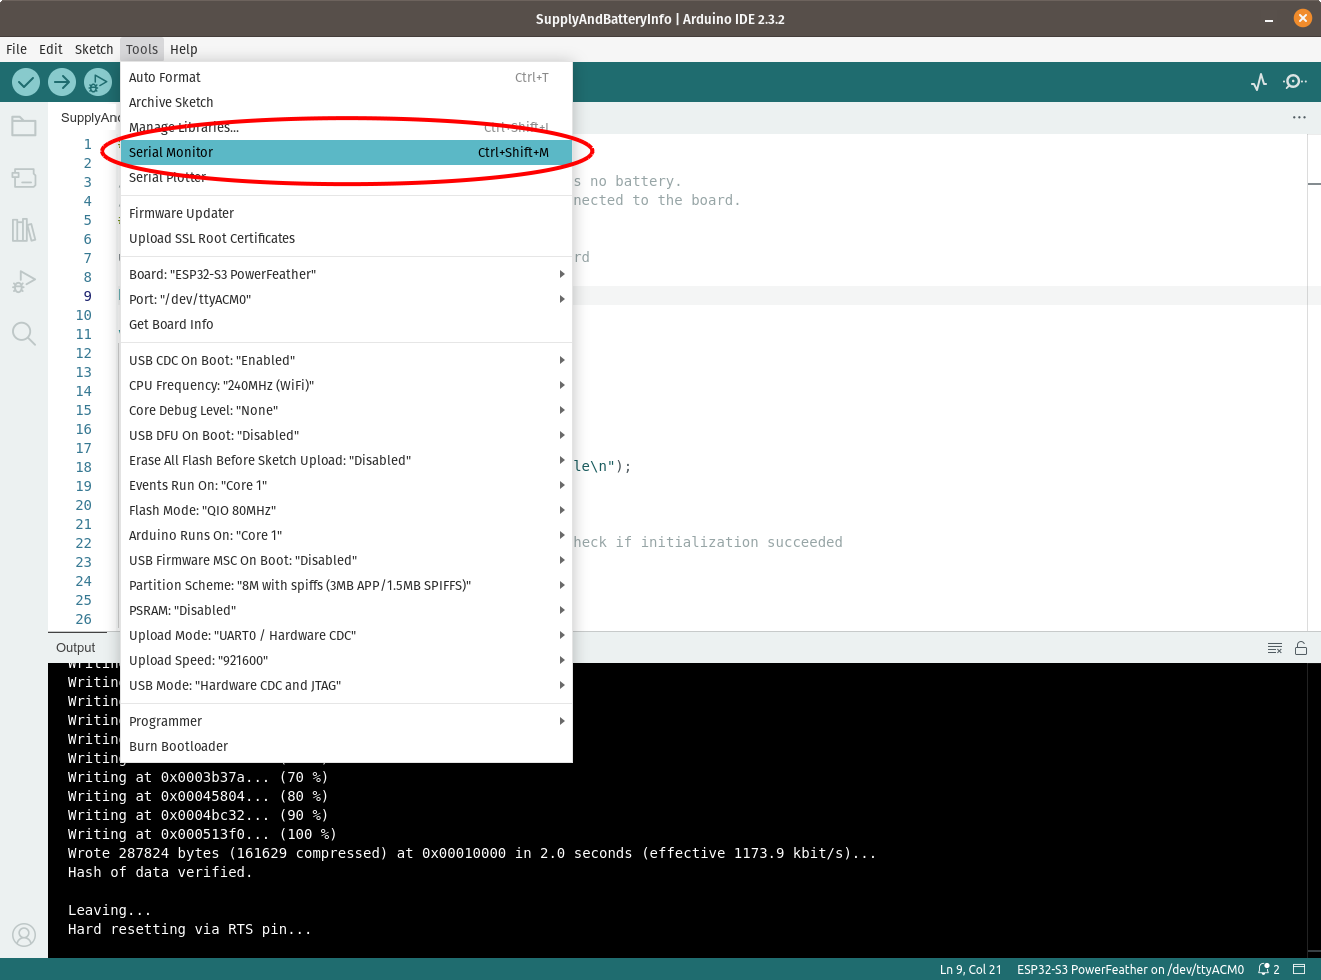
Upload the example, then open the Serial Monitor when done.
If you have trouble uploading the example sketch, try putting the ESP32-S3 in download mode. This can be done by pressing and
holding BTN, pressing RST momentarily, and then releasing BTN.
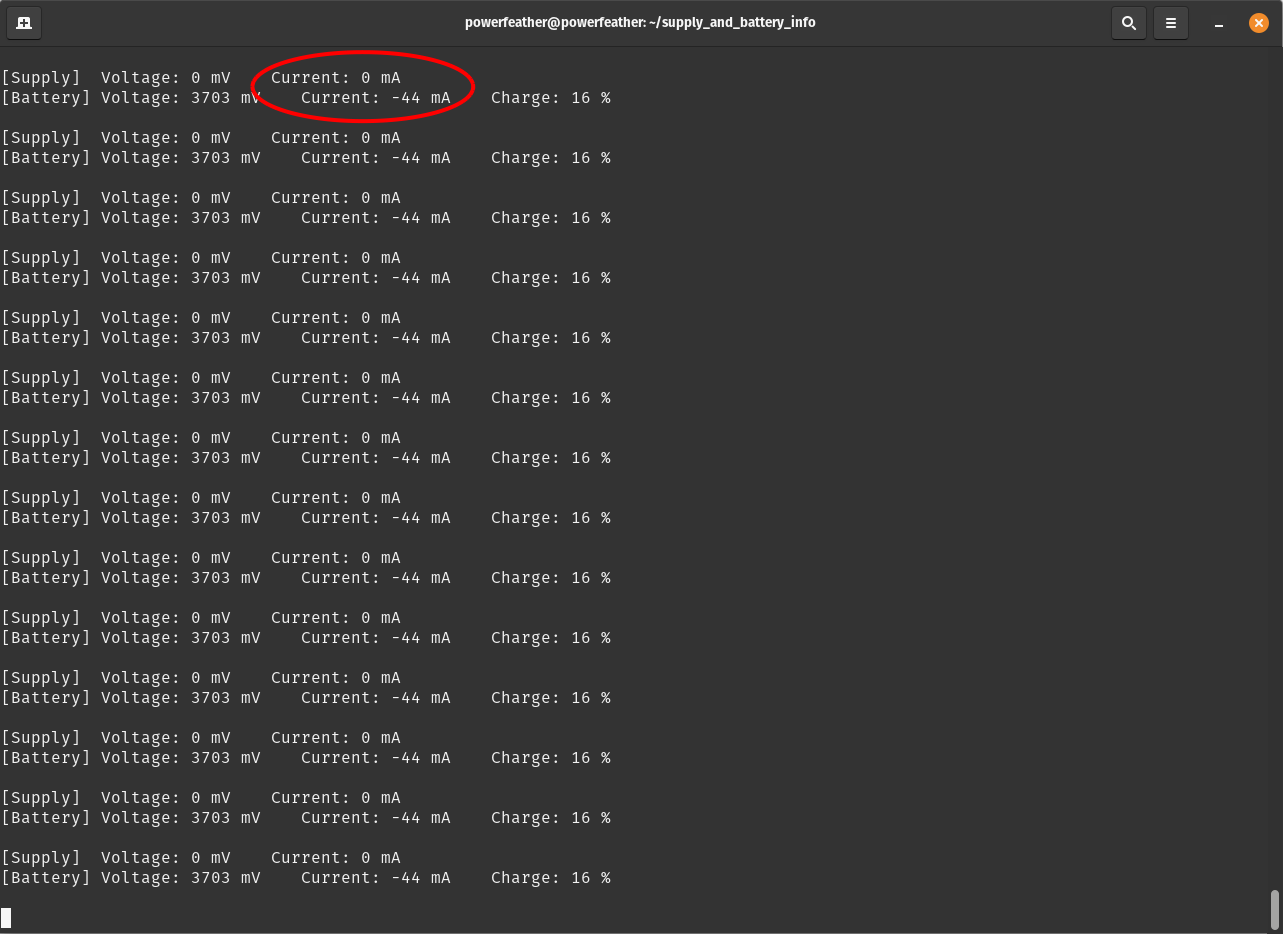
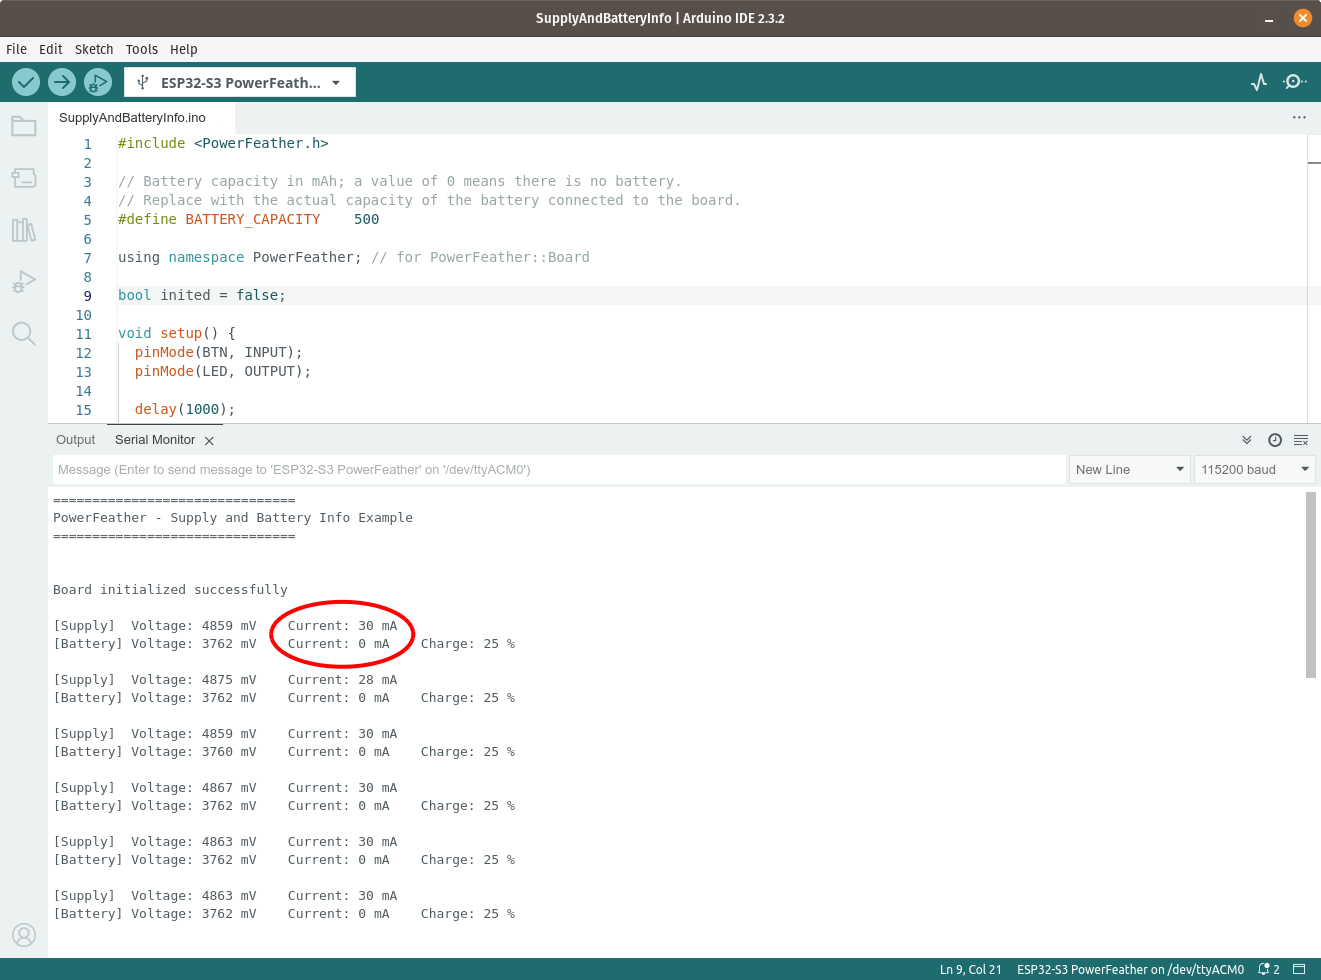
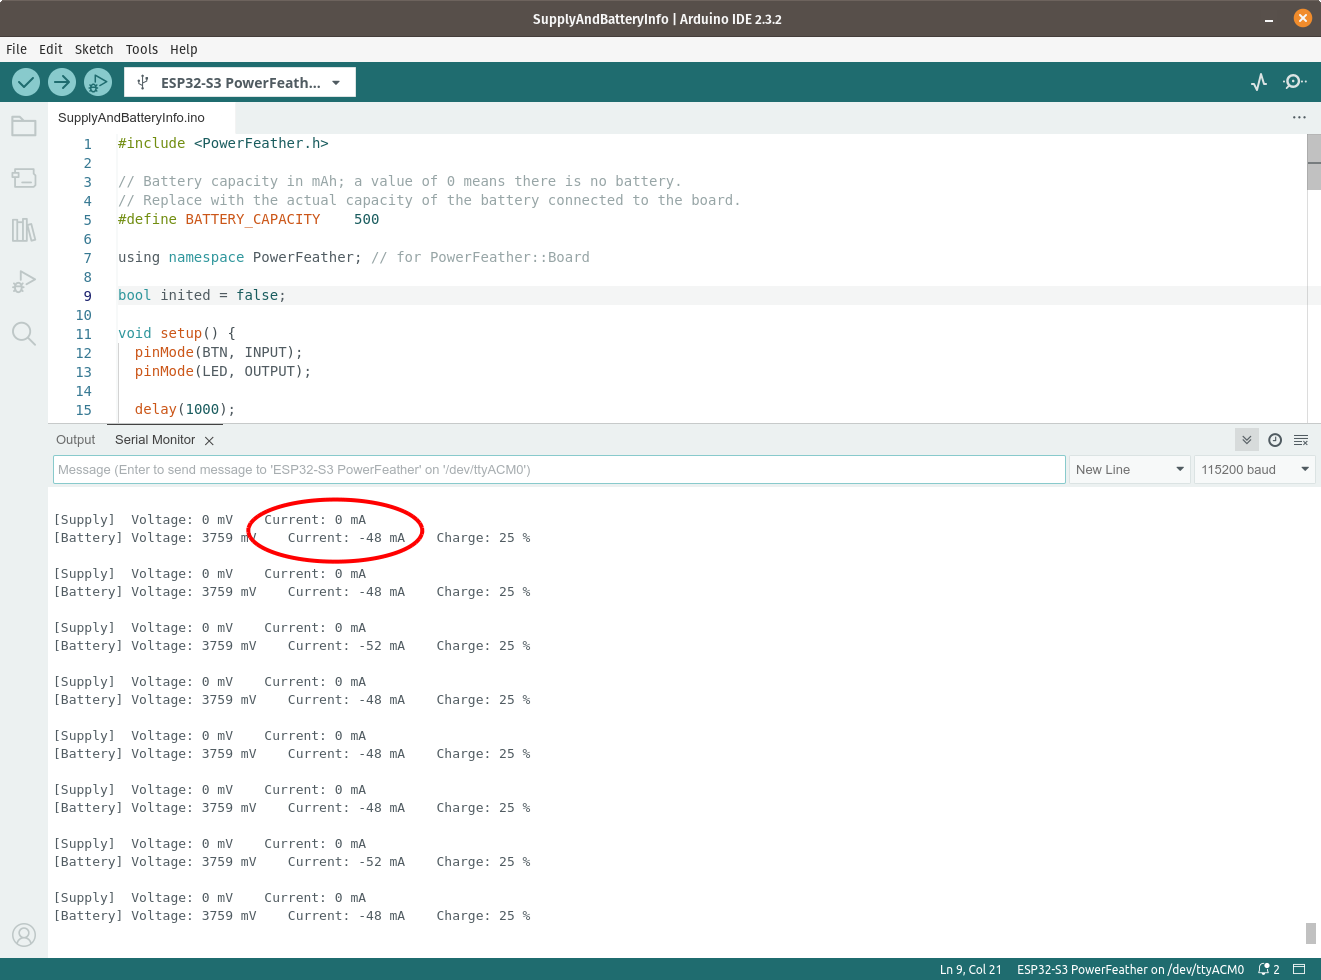
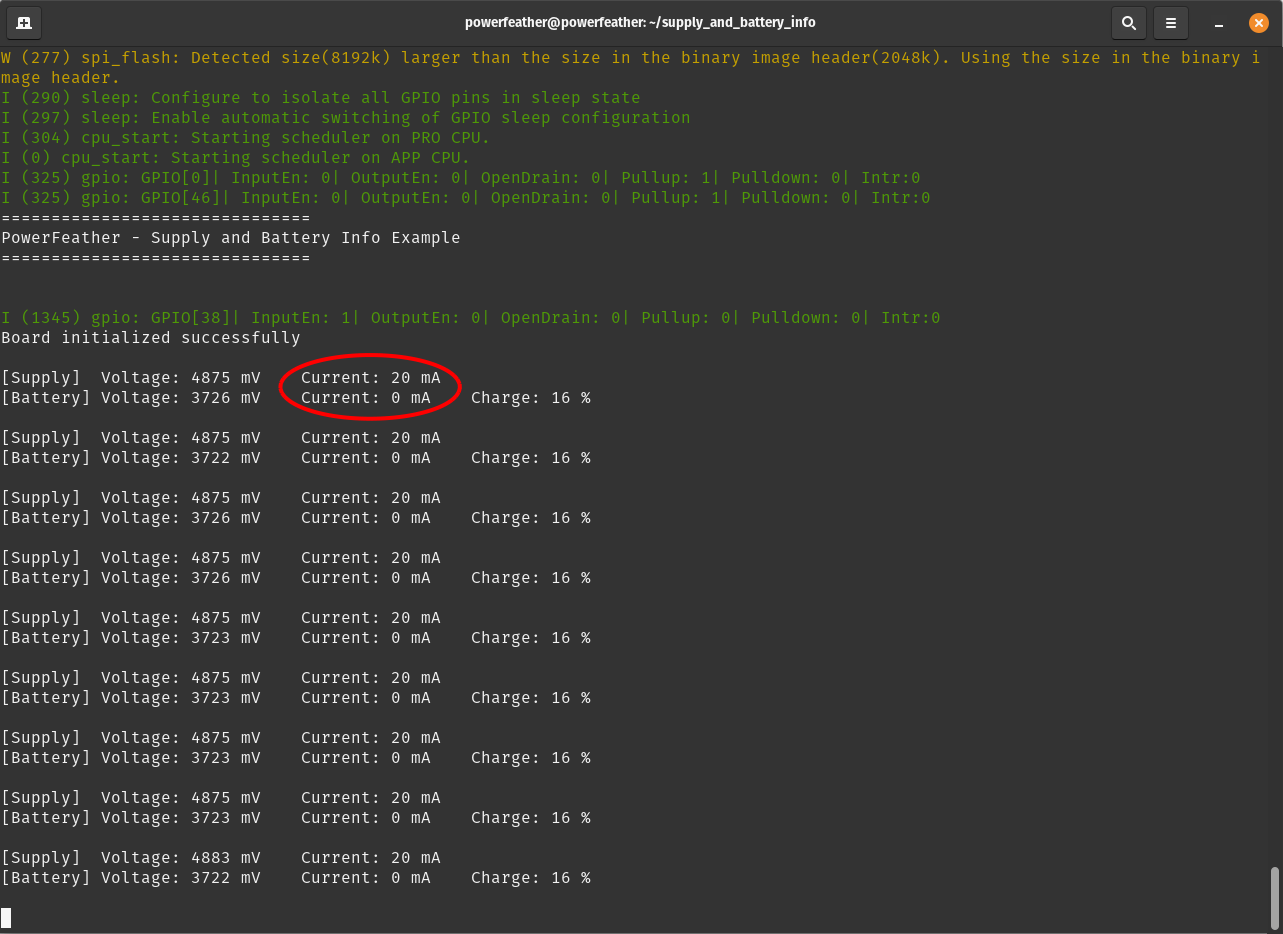
On the Serial Monitor, you should see the supply and battery voltage and current reported; as well as the estimated battery charge percentage by the fuel gauge. Notice that the battery current is zero, while the supply current is not. This indicates that:
- The board is being powered by the USB supply and not the battery.
- The battery is not charging.
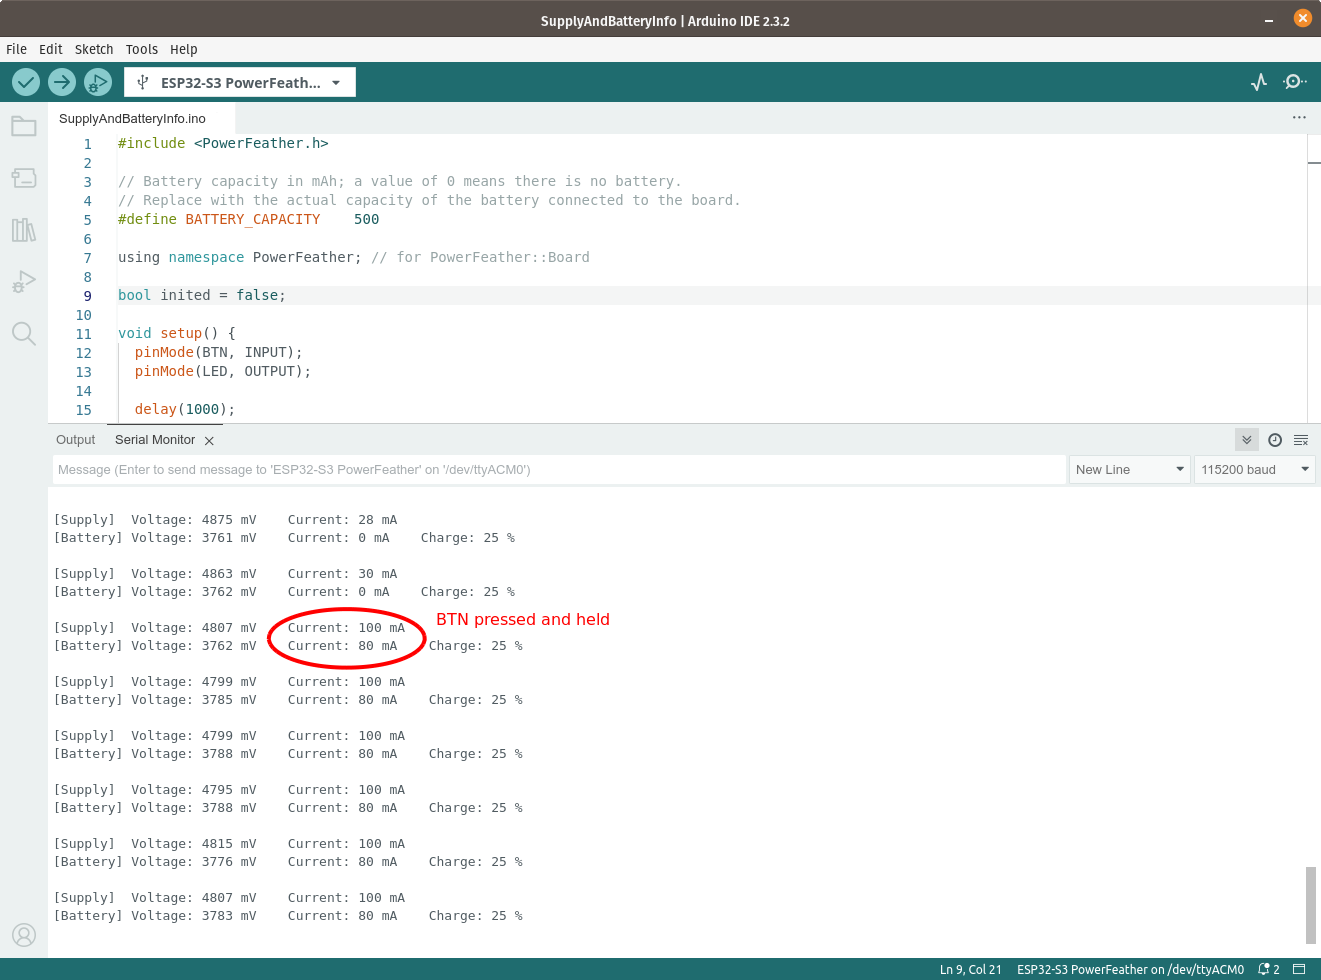
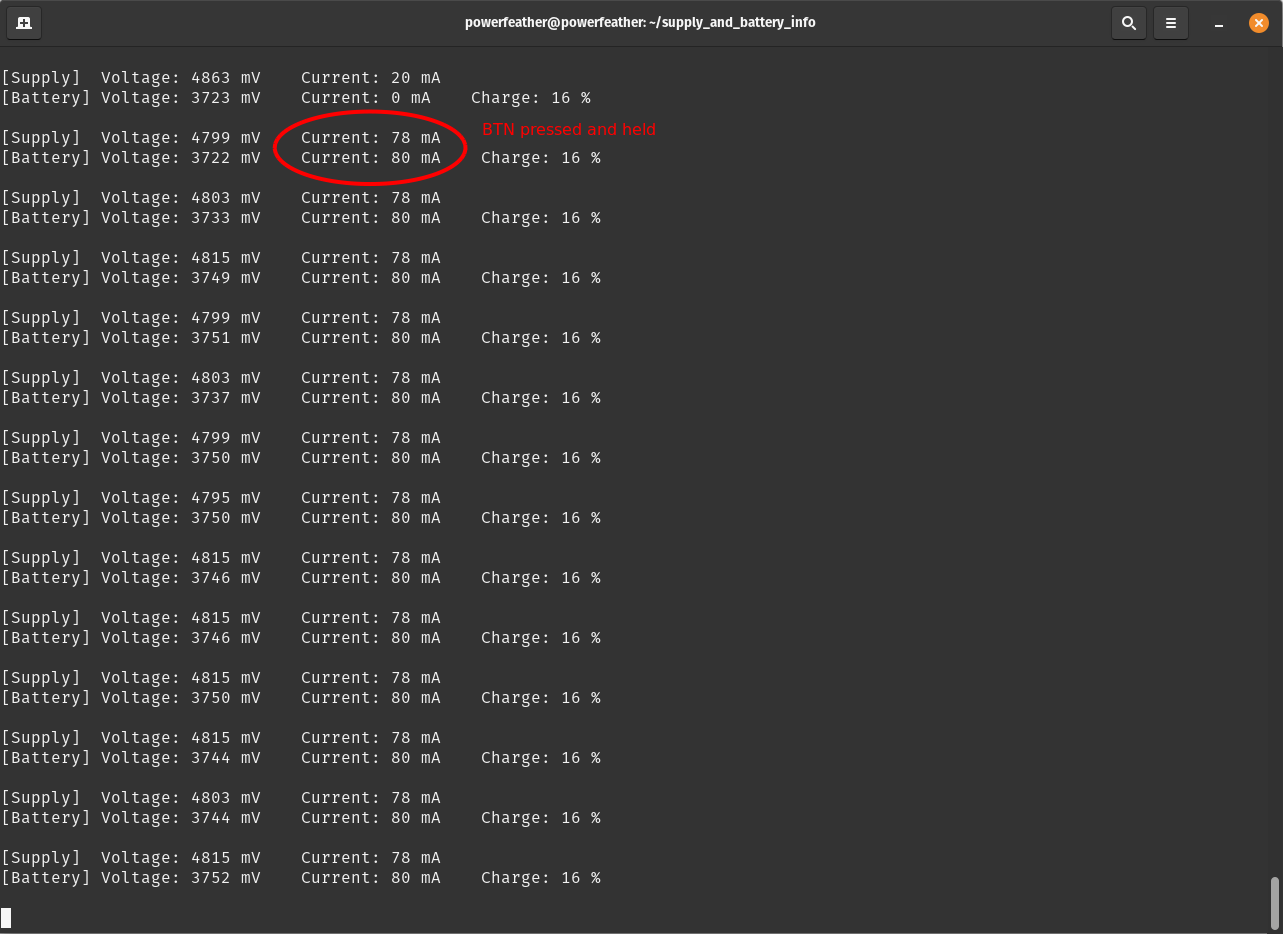
Press and hold BTN on PowerFeather to enable charging. Notice the battery current is no longer zero, and supply current is
more than before.
If you have or can make one, try using a data-only USB cable. With the USB supply absent, the battery powers the board and discharges. In this case, the measured battery current is negative.
ESP-IDF
On Mac OS and Linux, open a terminal with the ESP-IDF environment loaded. On Windows open the ESP-IDF Command Prompt or ESP-IDF PowerShell.
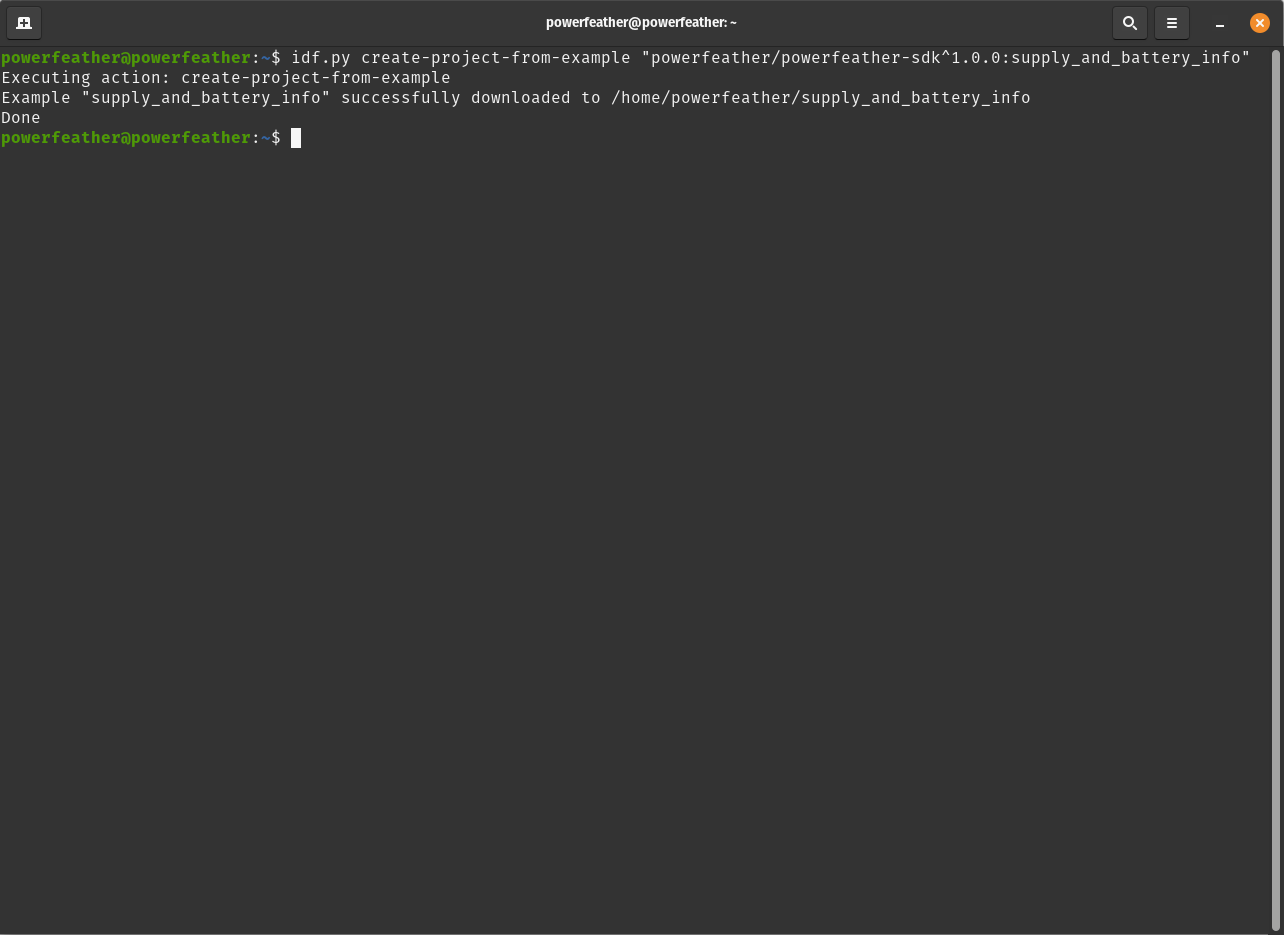
Navigate to a directory where the example project can be downloaded to and run the following command:
idf.py create-project-from-example "powerfeather/powerfeather-sdk^1.0.0:supply_and_battery_info"
Connect the battery first if you have one, before connecting PowerFeather to the host computer.
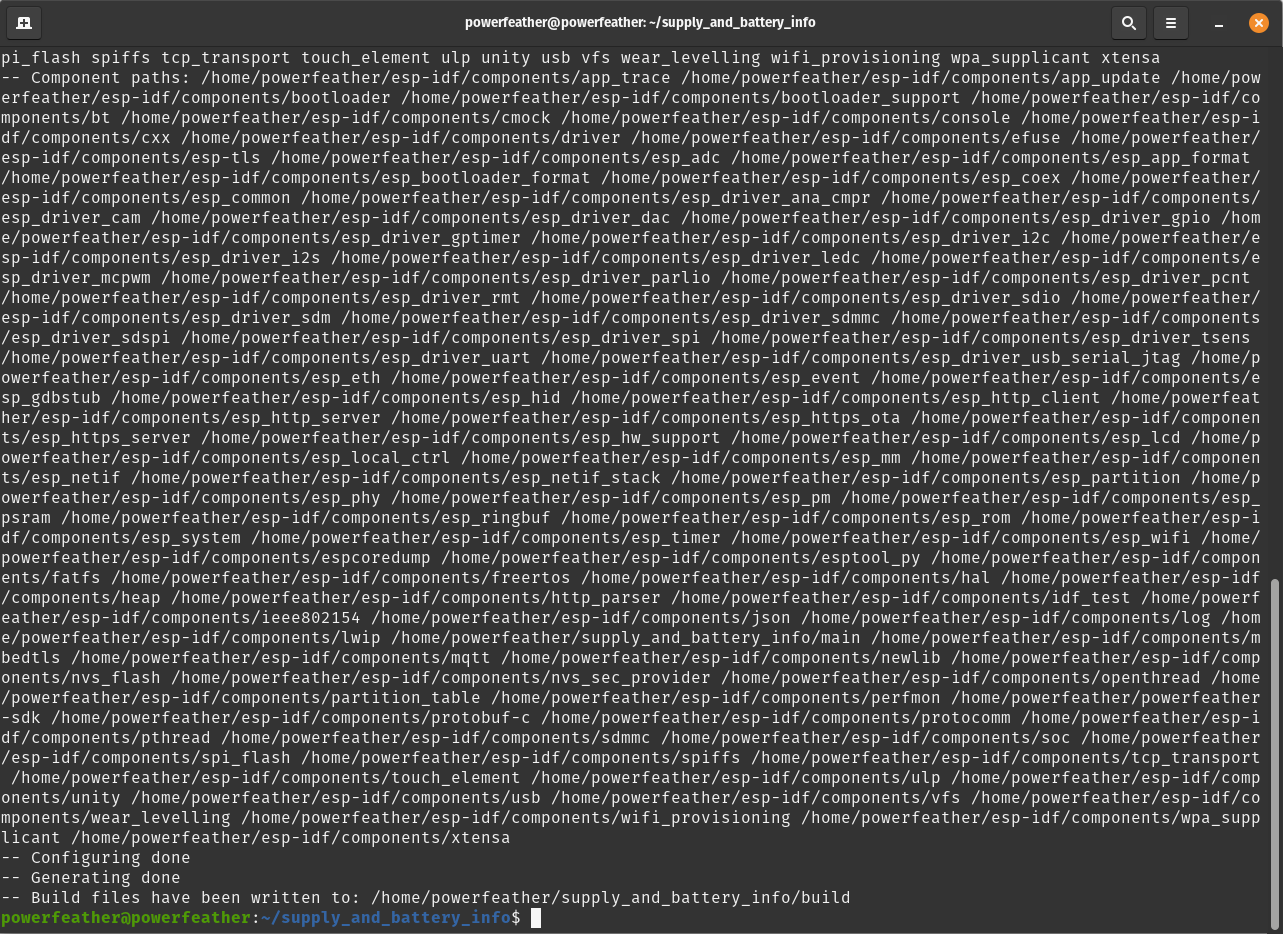
Once connected cd into the just downloaded supply_and_battery_info directory, then build and flash the example using the commands:
idf.py set-target esp32s3
idf.py flash monitor
Before flashing, run idf.py menuconfig and select your board revision in:
Component config > PowerFeather-SDK > ESP32-S3 PowerFeather board revision.
Choose either ESP32-S3 PowerFeather or ESP32-S3 PowerFeather V2 to match your hardware.
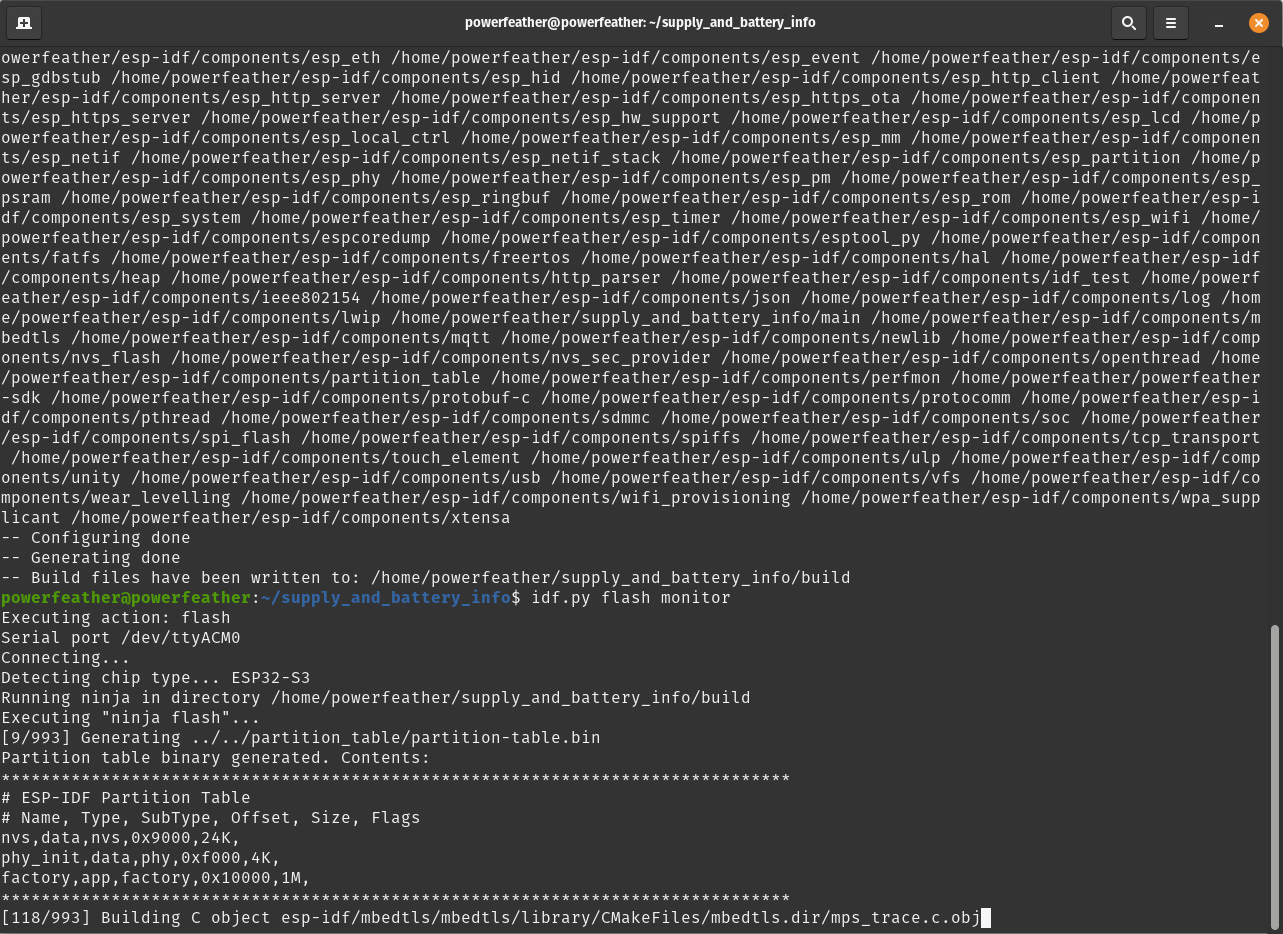
Run idf.py monitor. You should see the supply and battery voltage and current reported; as well as the
estimated battery charge percentage by the fuel gauge. Notice that the battery current is zero, while the supply current is not.
This indicates that:
- The board is being powered by the USB supply and not the battery.
- The battery is not charging.
Press and hold BTN on PowerFeather to enable charging. Notice the battery current is no longer zero, and supply current is
more than before.
If you have or can make one, try using a data-only USB cable. With the USB supply absent, the battery powers the board and discharges. In this case, the measured battery current is negative.