Using a Solar Panel
Selection
Choose a solar panel that has an open-circuit voltage not exceeding 18 V, and an MPP voltage from 4.6 V to 16.8 V.
Pay close attention to solar panels advertised as 12 V, as most of them actually have a much higher
open-circuit voltage of around 21 V - which exceeds the 18 V limit for VDC.
A 10 W panel in ideal conditions should be able to saturate the maximum battery charging current of 2 A. However, if you don't need a charging current that high, you may opt for a smaller wattage, and consequently physically smaller, solar panel.
The following are solar panels we have tested first-hand to work well with PowerFeather:
| Name | Wattage | MPP voltage | Open-circuit voltage | Purchase Link |
|---|---|---|---|---|
| PowerFeather Solar Panel | 10 W | 12 V | 13.9 V | https://www.elecrow.com/powerfeather-solar-panel.html |
| NETCOMLAB COV-35105 | 10 W | 15 V | 16.5 V | https://www.kobetradingusa.com/products/cov-35105-solar-panel-15v-10w |
Connection
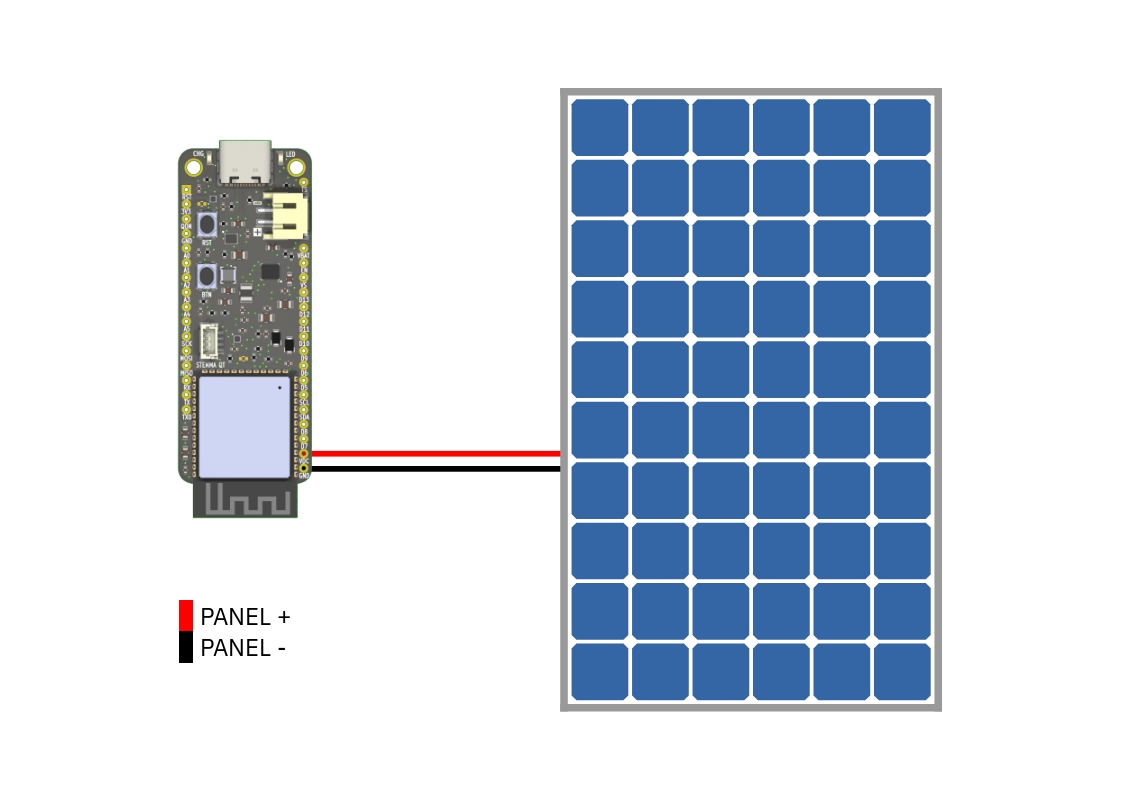
Simply connect the solar panel's positive and negative terminal to the PowerFeather's VDC and GND
pin, respectively.
If you are using a solar panel with a center-positive barrel jack (like the PowerFeather Solar Panel), you might be interested in the
PowerFeather ProtoWing which has a barrel connector and can be connected to VDC and GND of PowerFeather.
There is no reverse polarity protection on VDC and GND, so ensure that solar panel terminals are connected
with correct polarity. Incorrect polarity can cause permanent damage to PowerFeather and/or the solar panel.
Code
In order to maximize power from the solar panel, the MPP voltage should be set. It can be done by calling Mainboard::setSupplyMaintainVoltage in your code with the panel's MPP voltage as argument (in millivolts).
For example, for the PowerFeather Solar Panel, it would be:
Board.init(500); // Assuming a 500 mAh battery
// ...
Board.setSupplyMaintainVoltage(12000); // PowerFeather Solar Panel MPP voltage = 12000 mV