Setup
Arduino
Install the following:
-
Arduino v2.x or newer. Please follow the installation instructions for your OS.
-
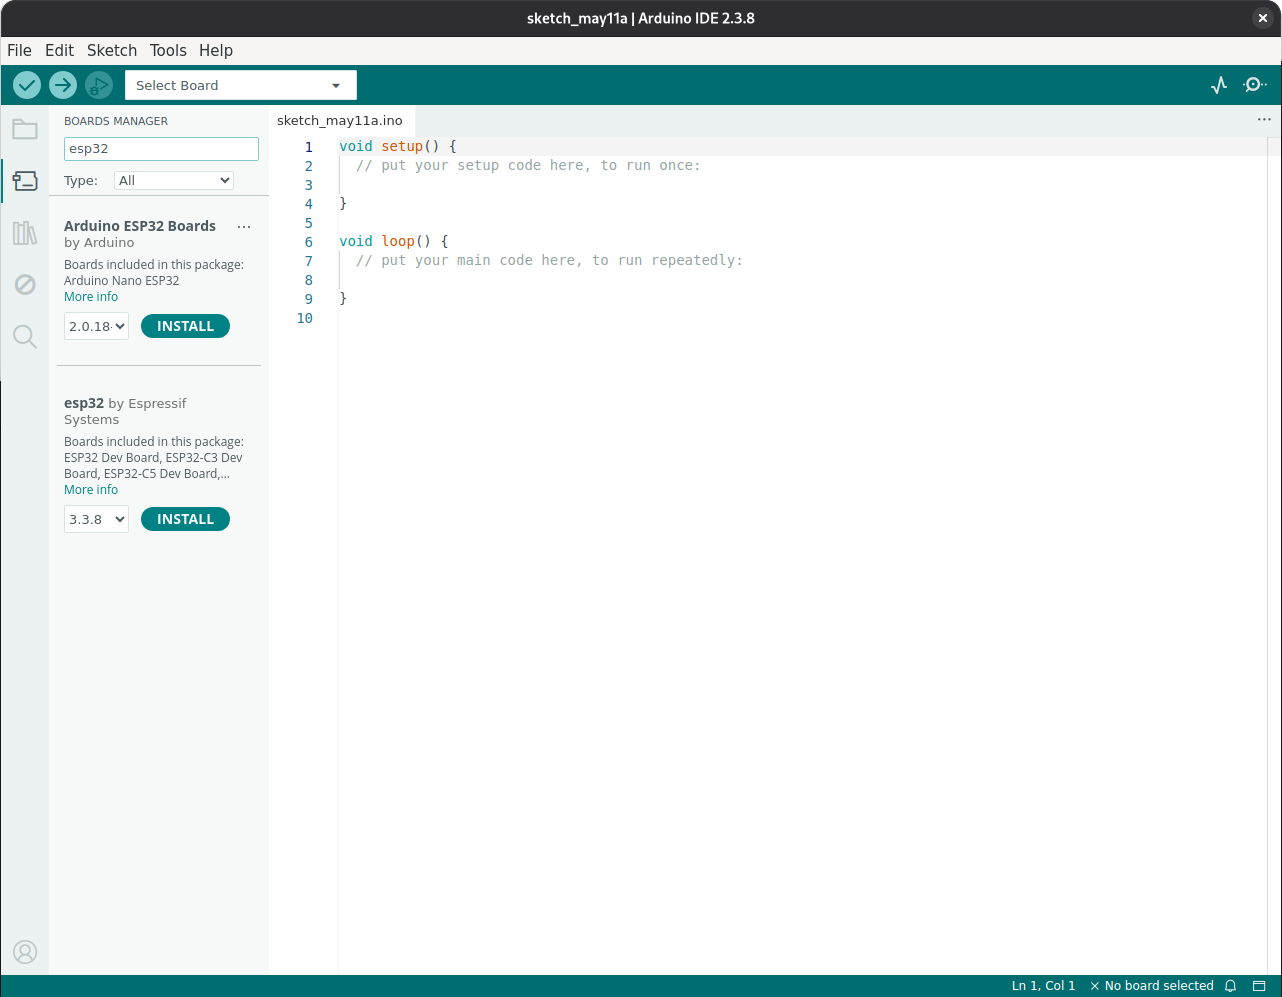
Arduino ESP32 v2.0.15 or newer. Please follow the installation guide from Espressif.
-
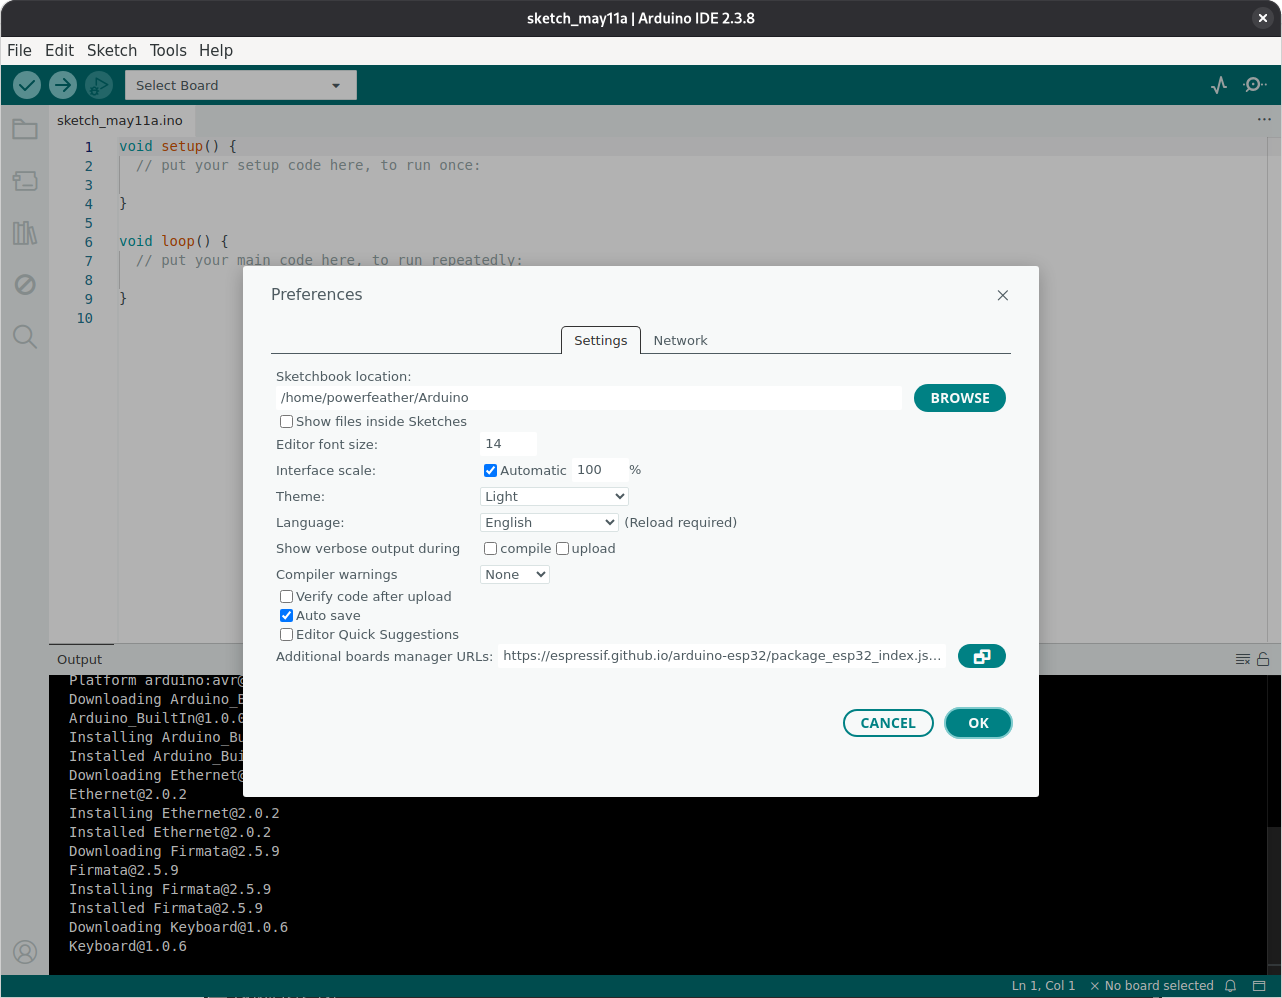
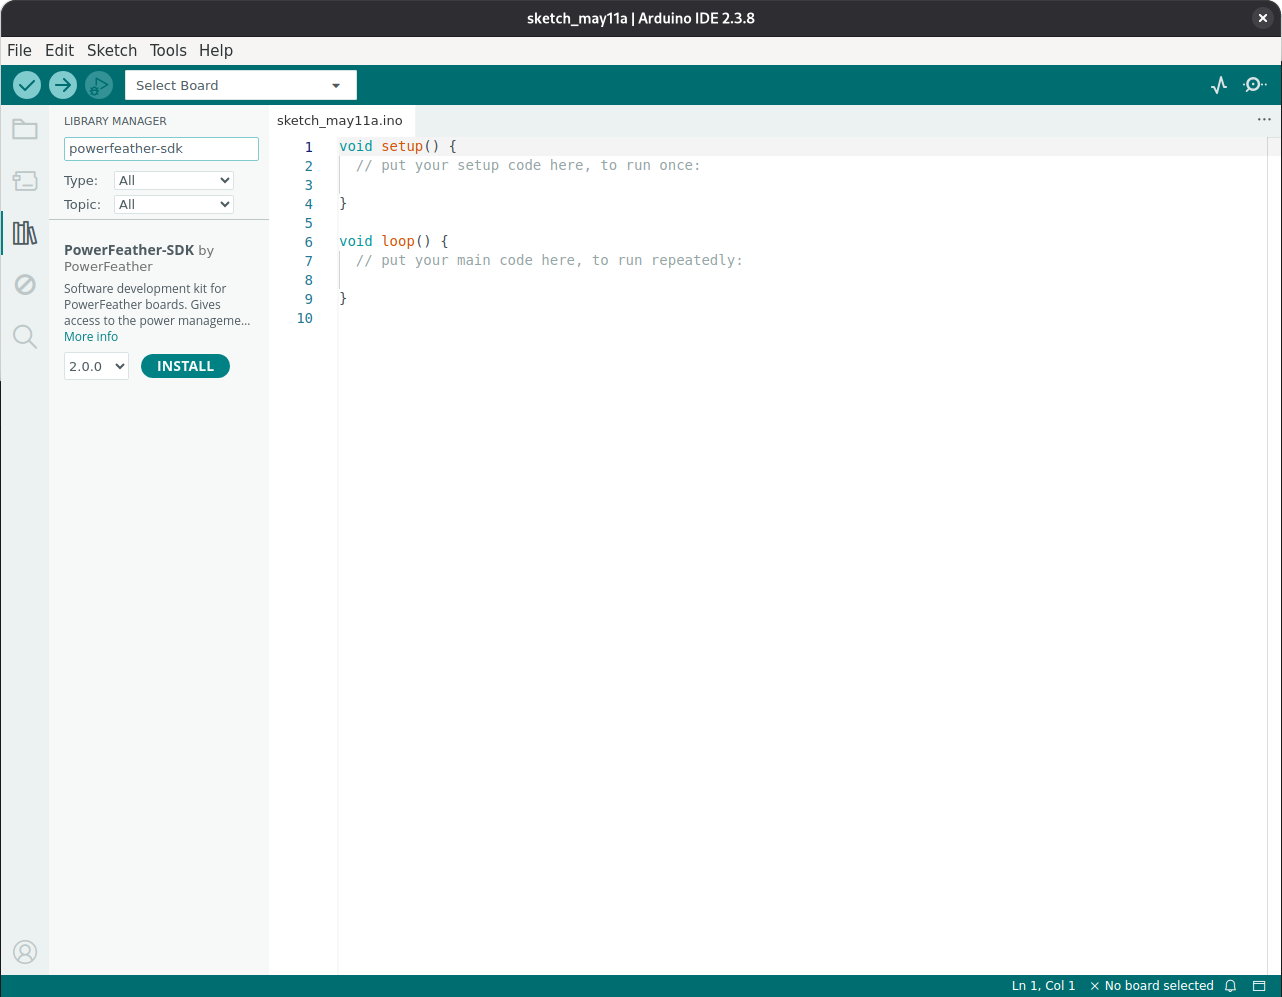
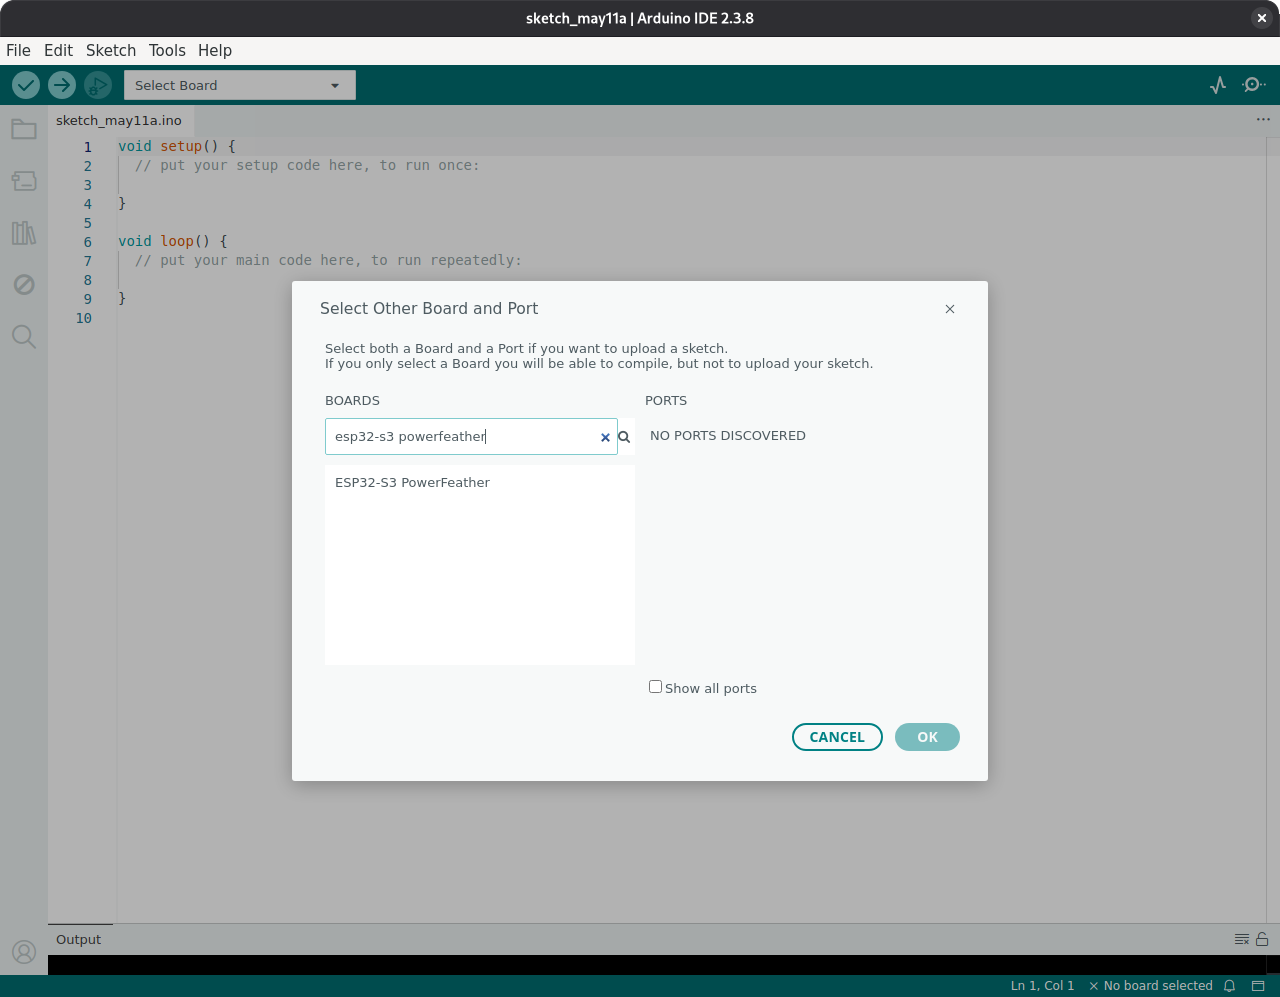
PowerFeather-SDK 2.0.0 or newer. Follow the instructions for installing a library.
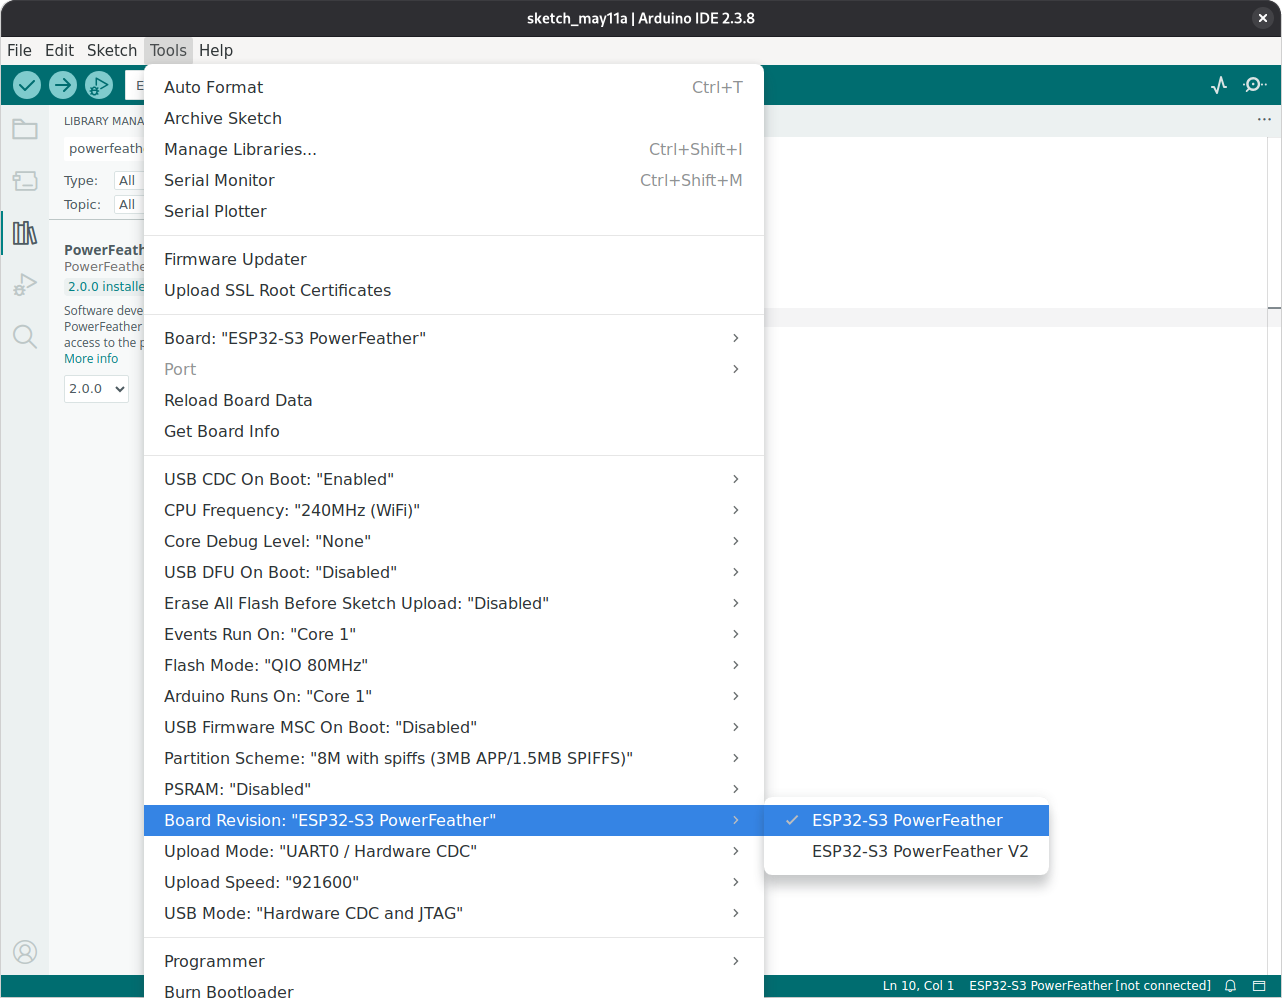
Before building or uploading, set the board revision in Arduino IDE. Choose the revision that matches your board: ESP32-S3 PowerFeather for V1 boards, or ESP32-S3 PowerFeather V2 for V2 boards.
Tools -> Board Revision -> ESP32-S3 PowerFeather V2
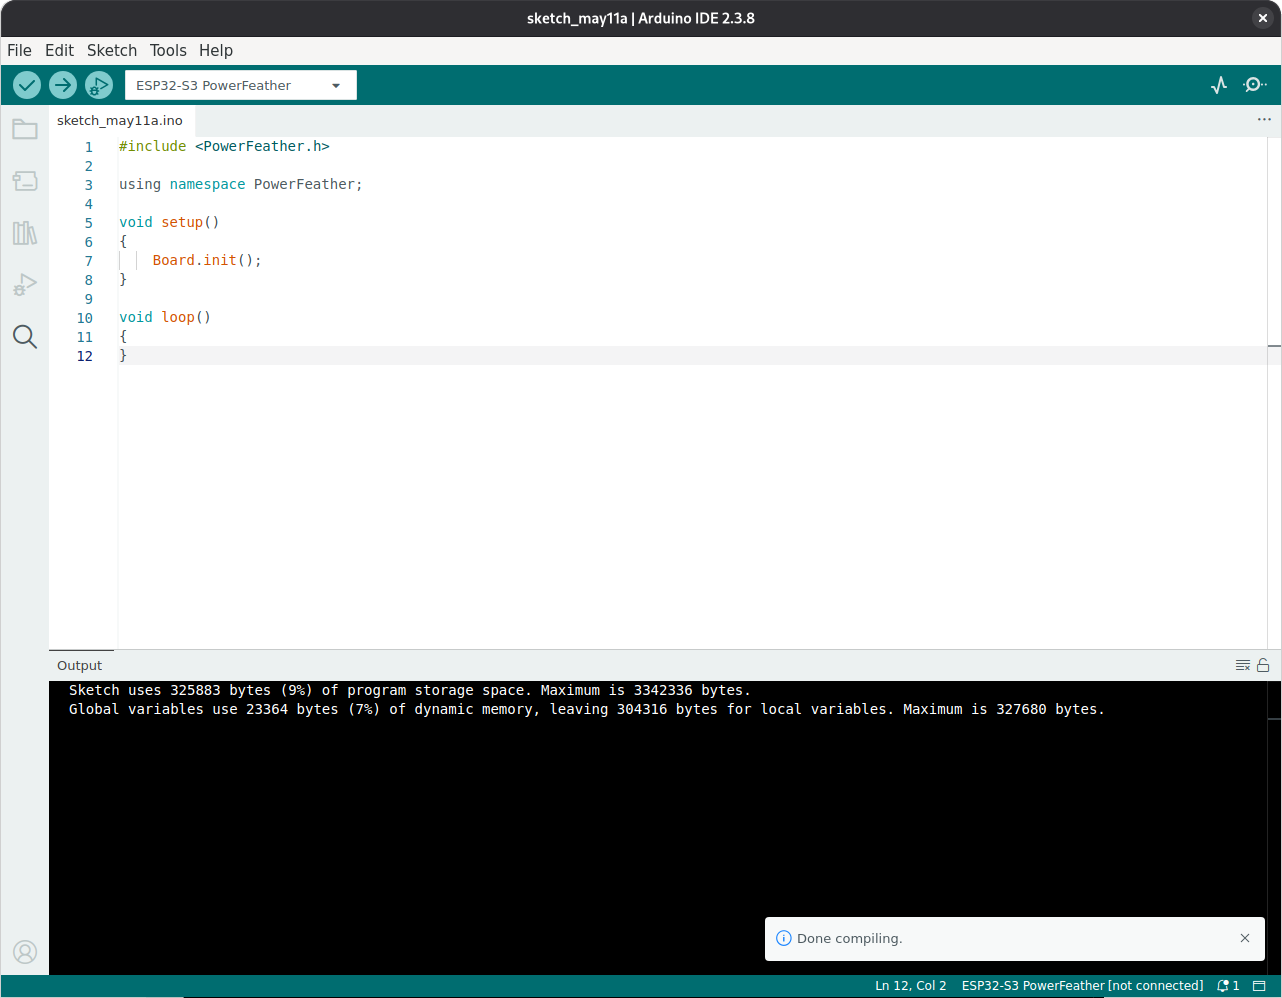
To test if setup was done properly, create a sketch with the following content:
#include <PowerFeather.h>

using namespace PowerFeather;

void setup()
{
    Board.init();
}

void loop()
{
}
The above is the minimal sketch code for PowerFeather, which just initializes the board hardware. Build the sketch, it should proceed without any errors.
If you have trouble uploading future sketches, try putting the ESP32-S3 in download mode. This can be done by pressing and
holding BTN, pressing RST momentarily, and then releasing BTN.
ESP-IDF
ESP-IDF needs to be installed first. PowerFeather-SDK 2.x requires ESP-IDF v5.2 to v5.5. Please follow the installation guide for Windows or Linux and macOS.
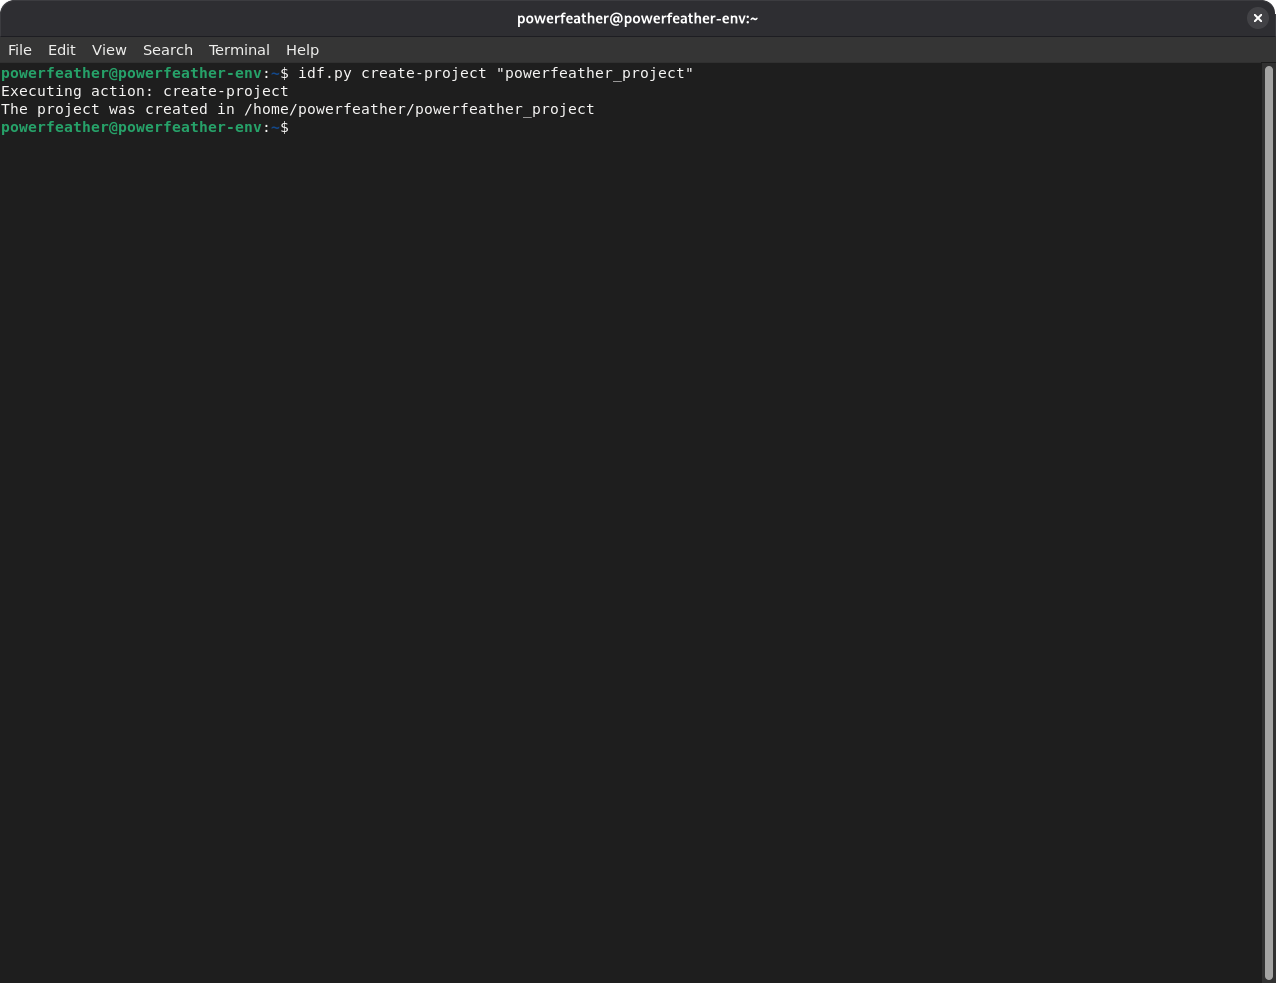
To demonstrate adding PowerFeather-SDK to an ESP-IDF project, we'll create a sample one. Open a terminal with the ESP-IDF environment loaded on Windows or Linux and macOS. Navigate to a directory where the sample ESP-IDF project can be created, and run the command:
idf.py create-project "powerfeather_project"
Navigate into the created sample ESP-IDF project directory. Rename main/powerfeather_project.c to main/powerfeather_project.cpp. Your project tree should look like the following:
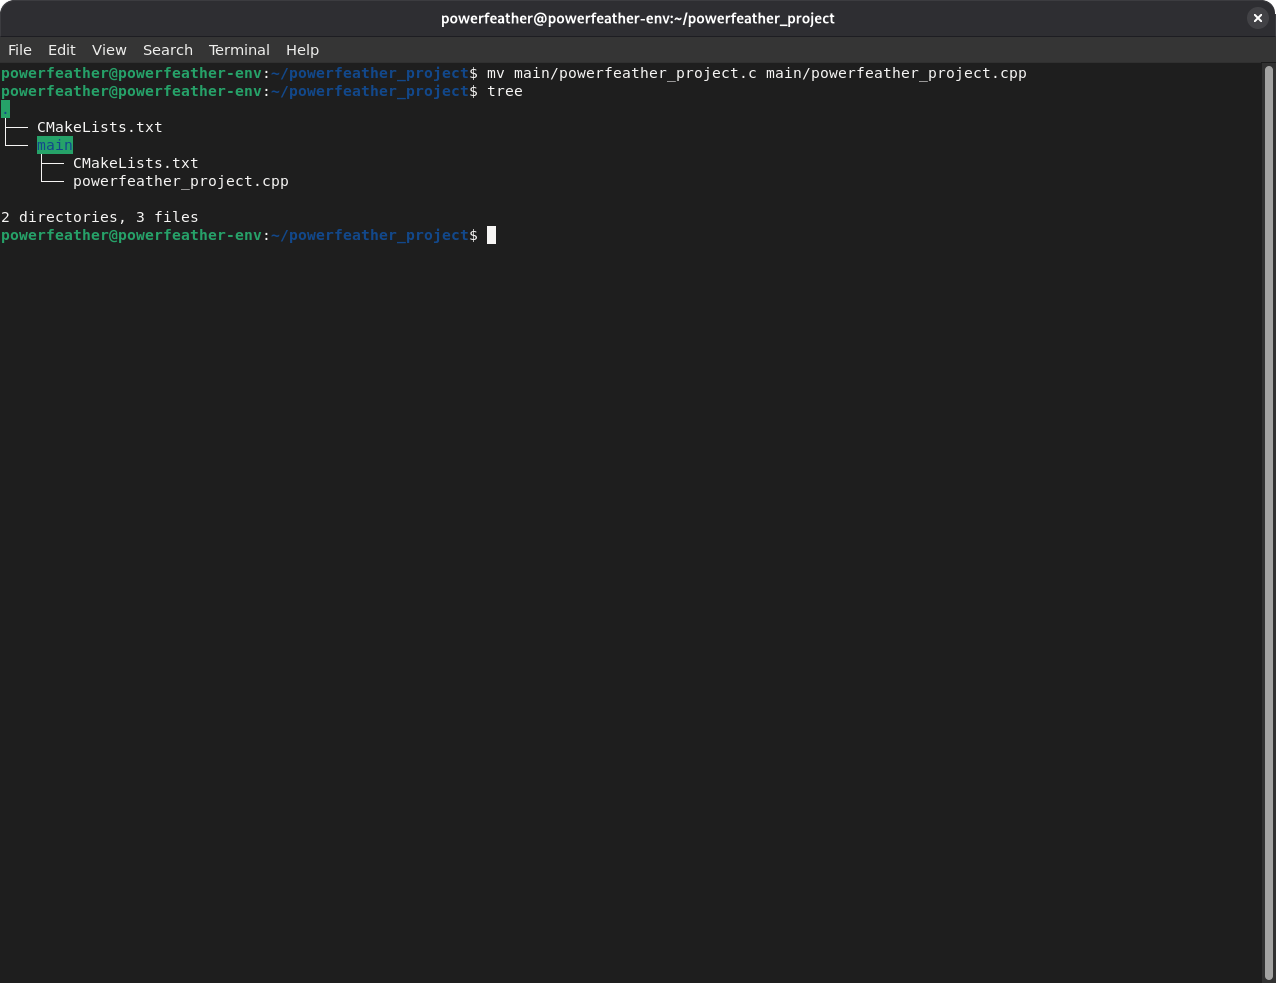
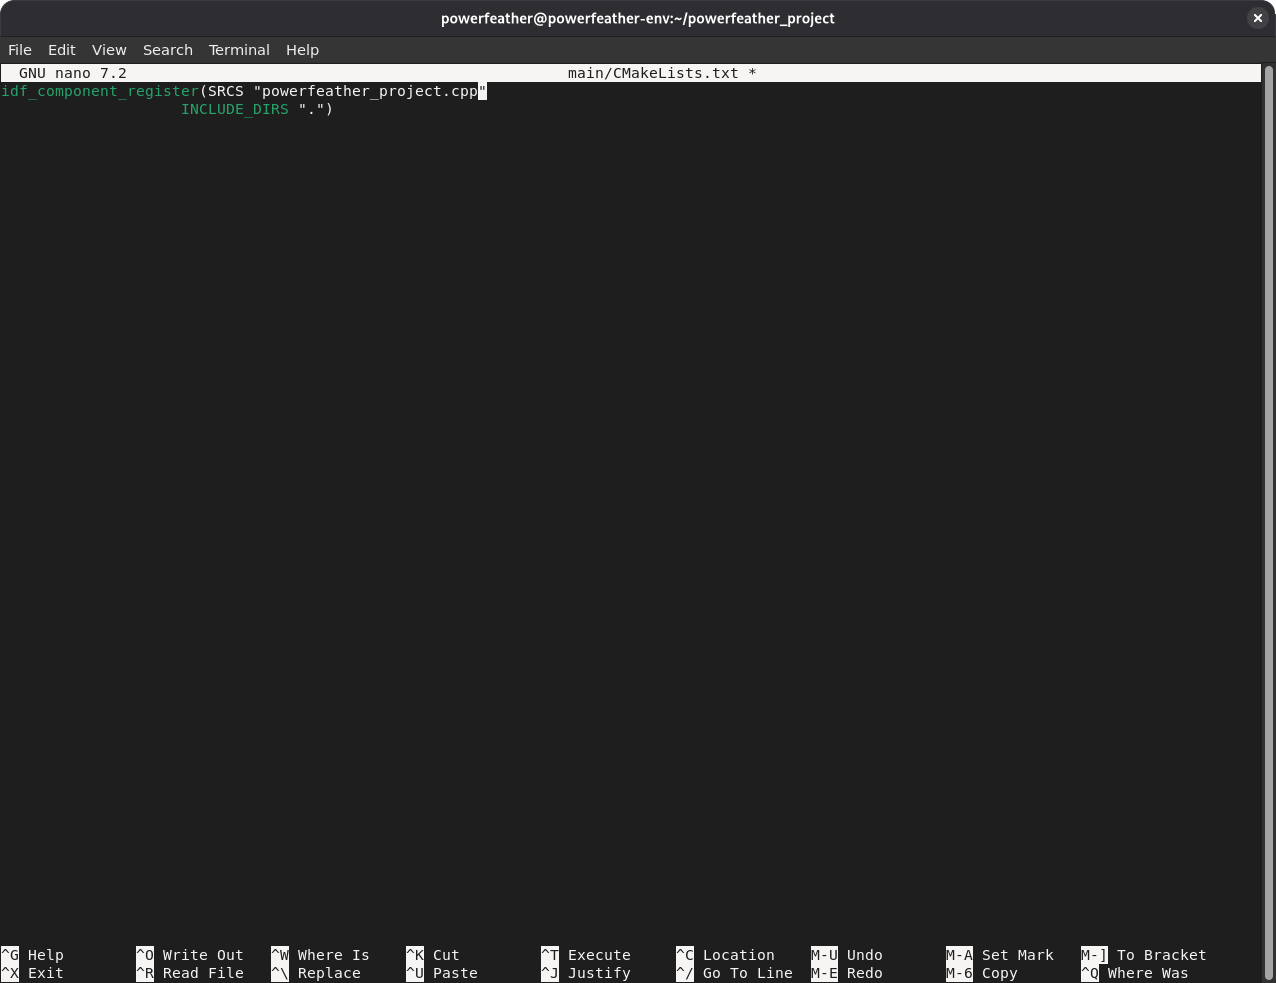
Edit main/CMakeLists.txt and change powerfeather_project.c to powerfeather_project.cpp, to reflect the rename done in the previous step.
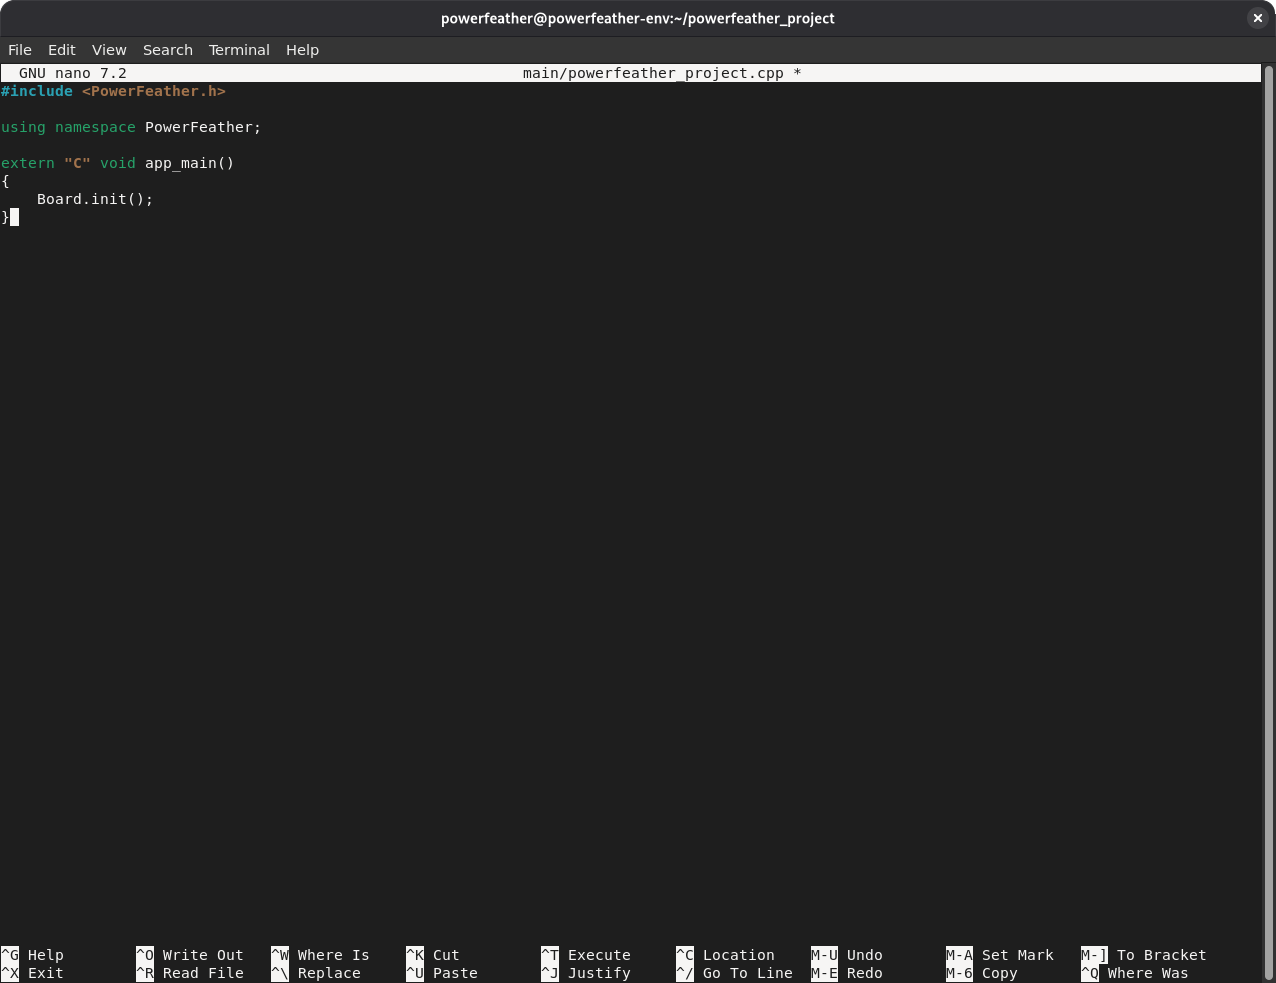
Replace the contents of main/powerfeather_project.cpp with the following:
#include <PowerFeather.h>

using namespace PowerFeather;

extern "C" void app_main()
{
    Board.init();
}
The above is the minimal ESP-IDF project code for PowerFeather, which just initializes the board hardware.
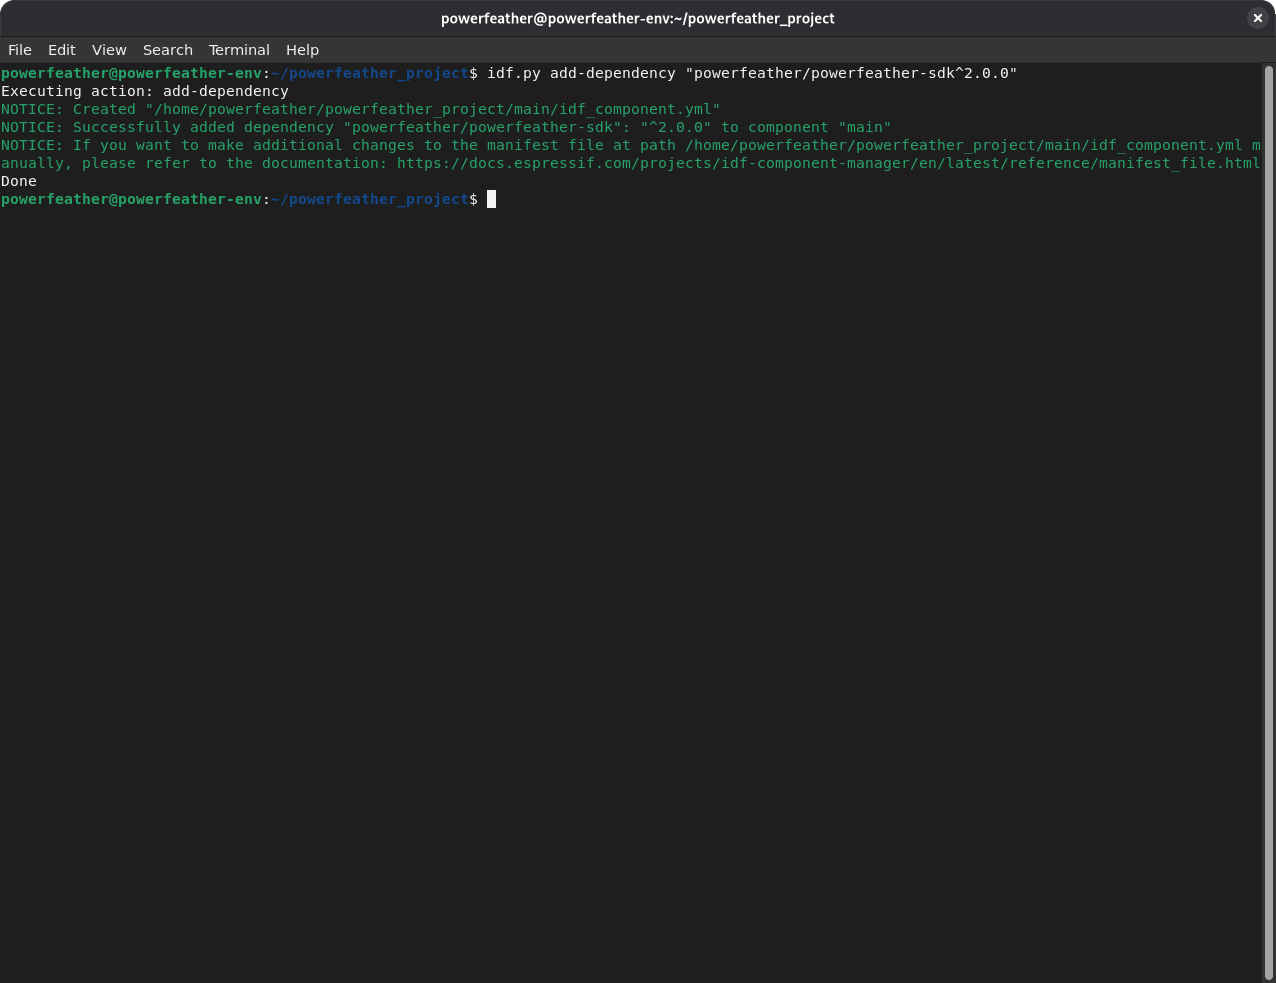
To add PowerFeather-SDK as a component for the sample ESP-IDF project, run the command:
idf.py add-dependency "powerfeather/powerfeather-sdk^2.0.0"
Before configuring the board revision in Kconfig, set the target:
idf.py set-target esp32s3
Then open Kconfig:
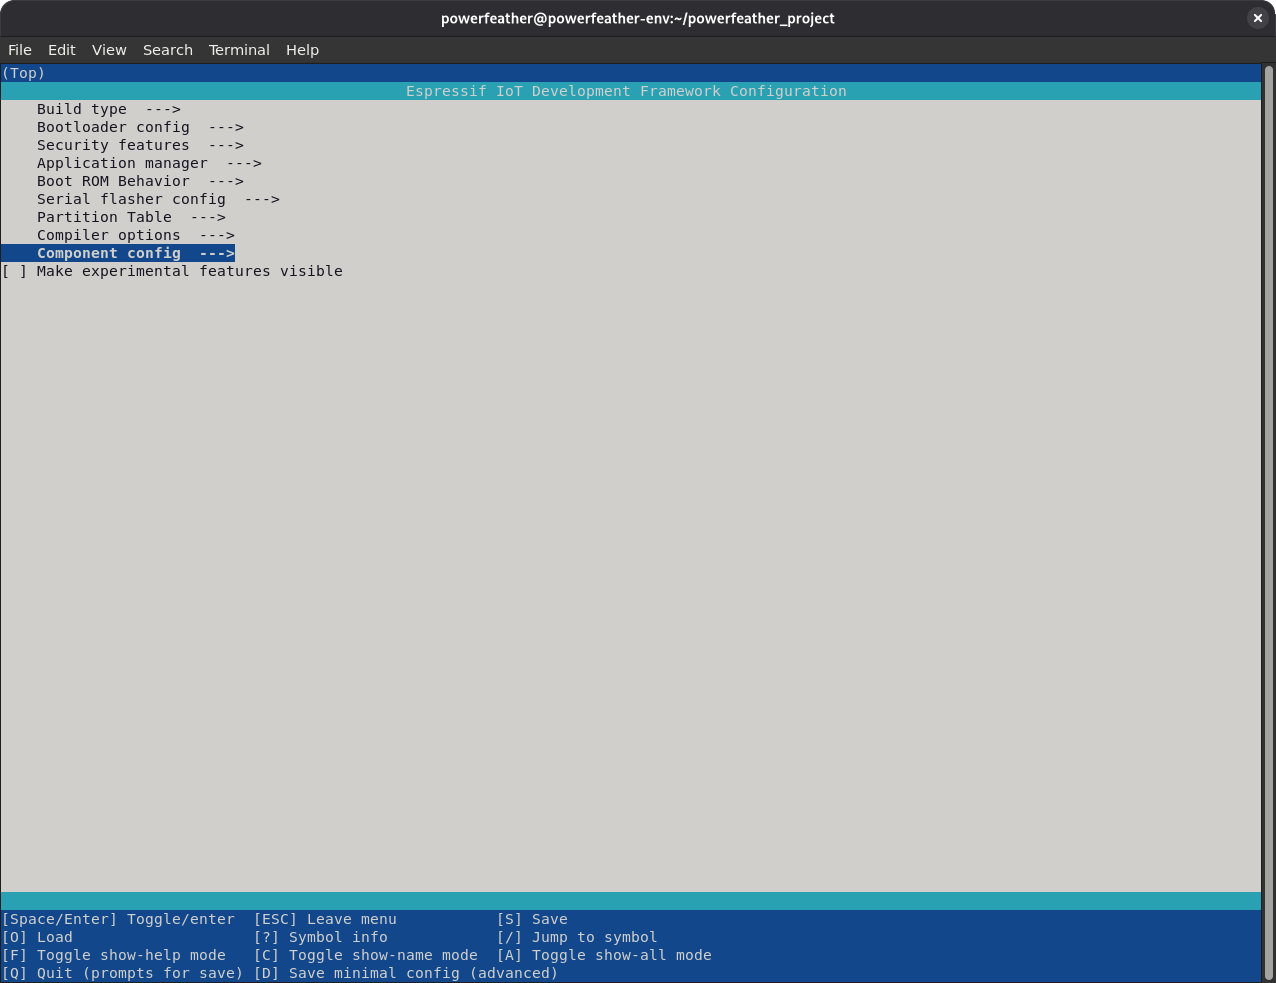
idf.py menuconfig
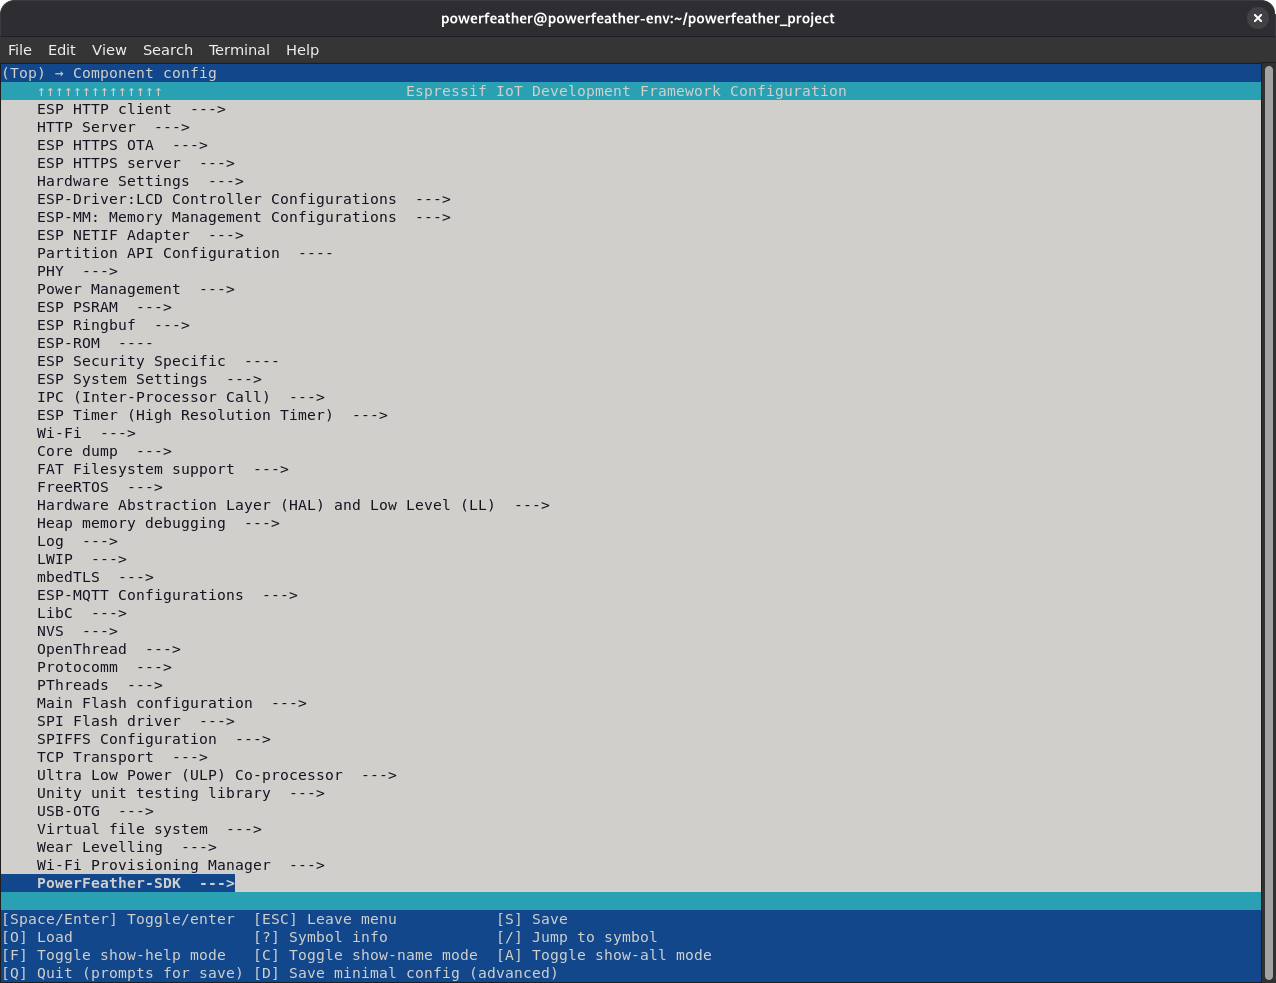
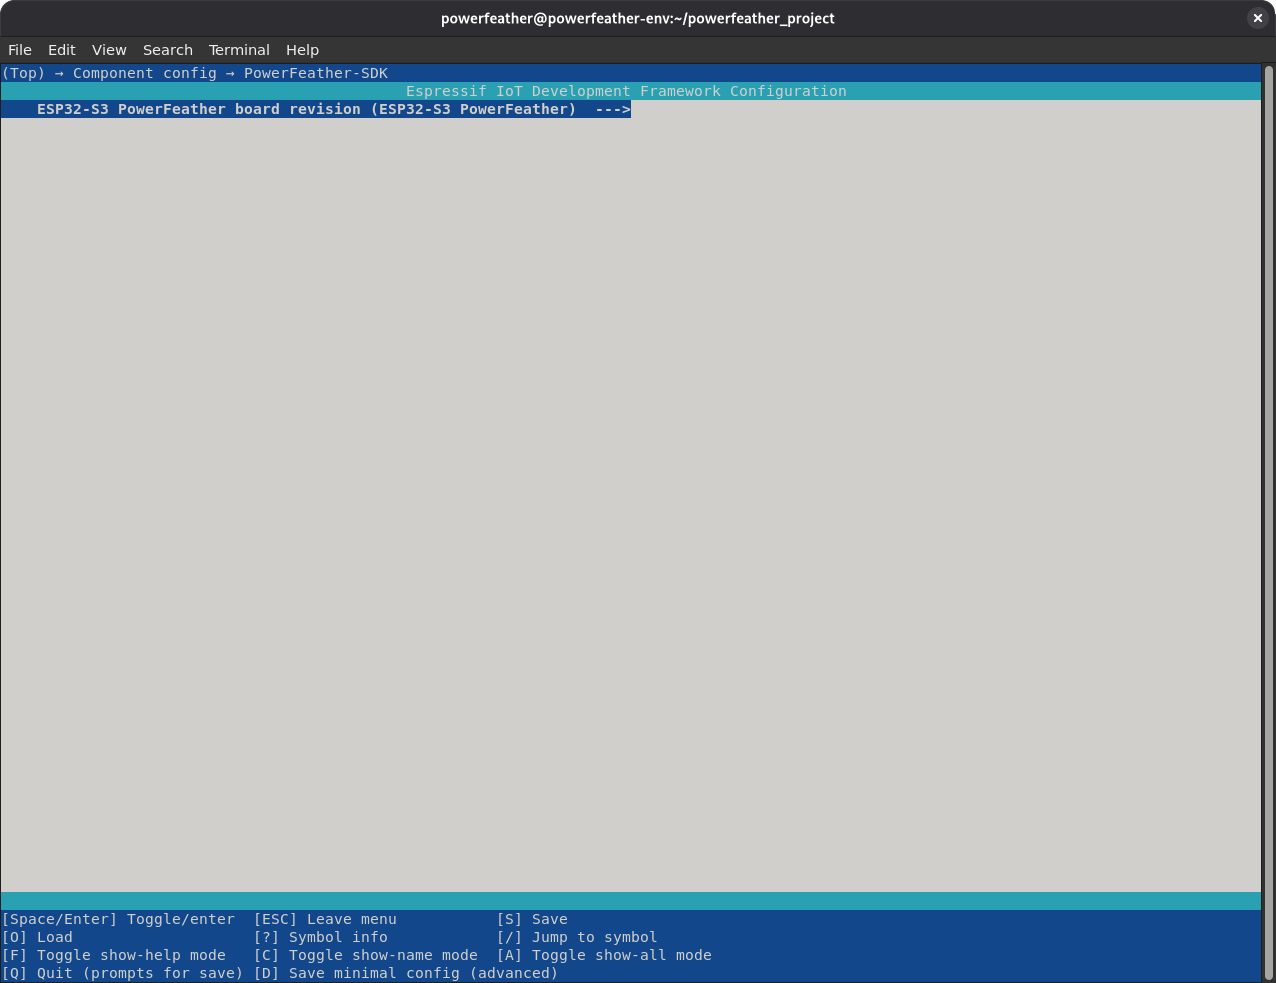
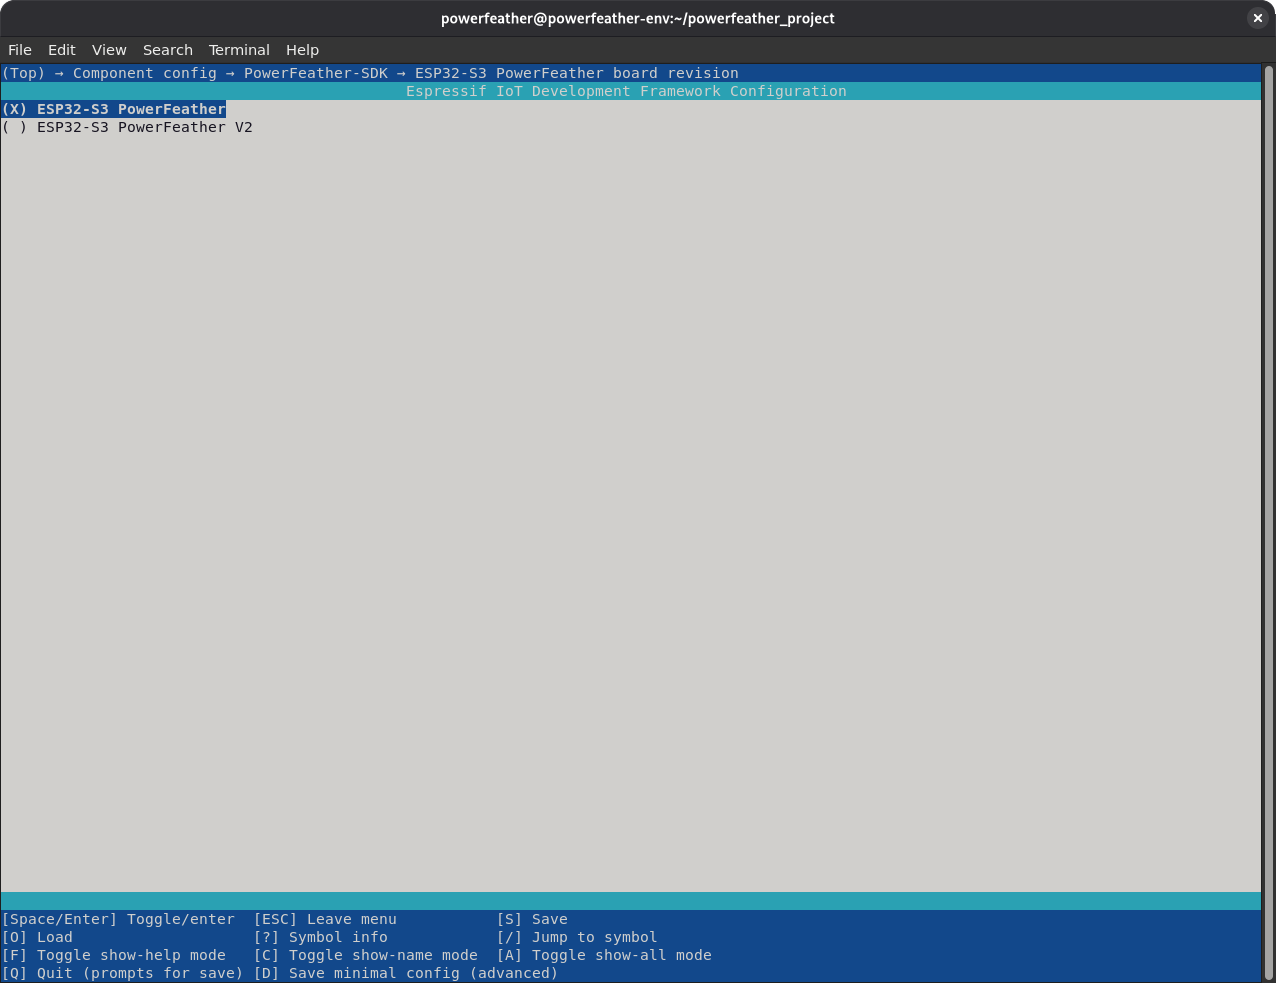
Then select the board revision that matches your board through Kconfig. Choose ESP32-S3 PowerFeather for V1 boards, or ESP32-S3 PowerFeather V2 for V2 boards.
Component config -> PowerFeather-SDK -> ESP32-S3 PowerFeather board revision -> ESP32-S3 PowerFeather V2
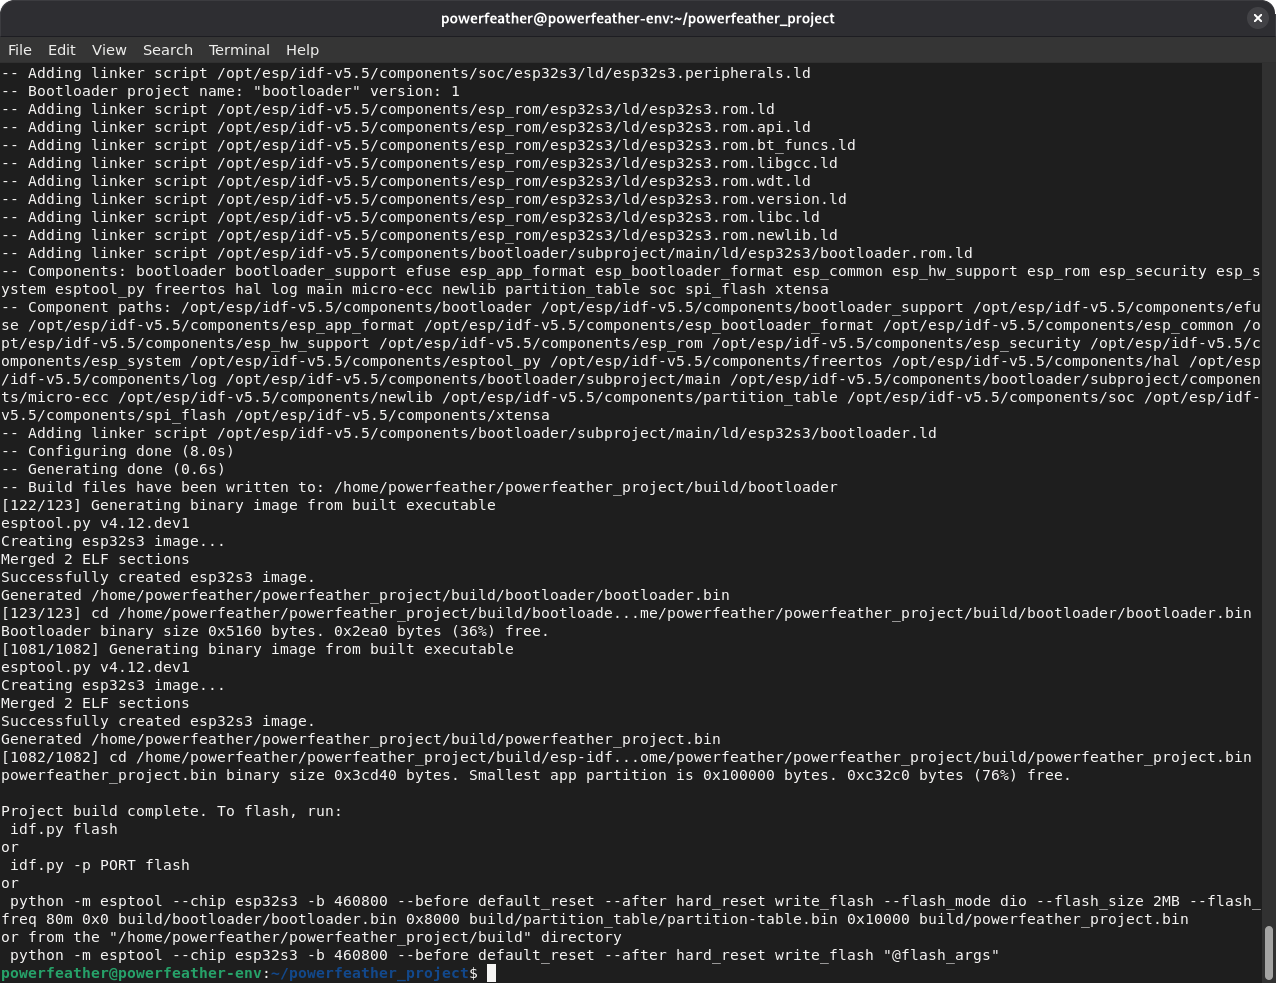
Build the sample ESP-IDF project by issuing the command:
idf.py build
If everything was set up correctly, the build should proceed without any compilation errors.